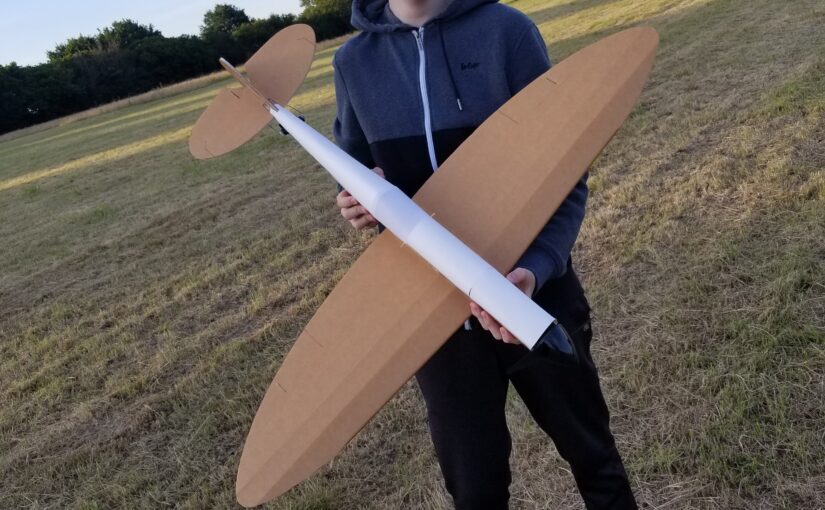
In 2018 I made a foamboard spitfire by Flite Test with my dad. The plane is made of laser cut foam board that is hot-glued together and was very easy to assemble; here’s how we did it and out experience flying it!
(This specific version of the kit is no longer sold but a newer version is available here.)

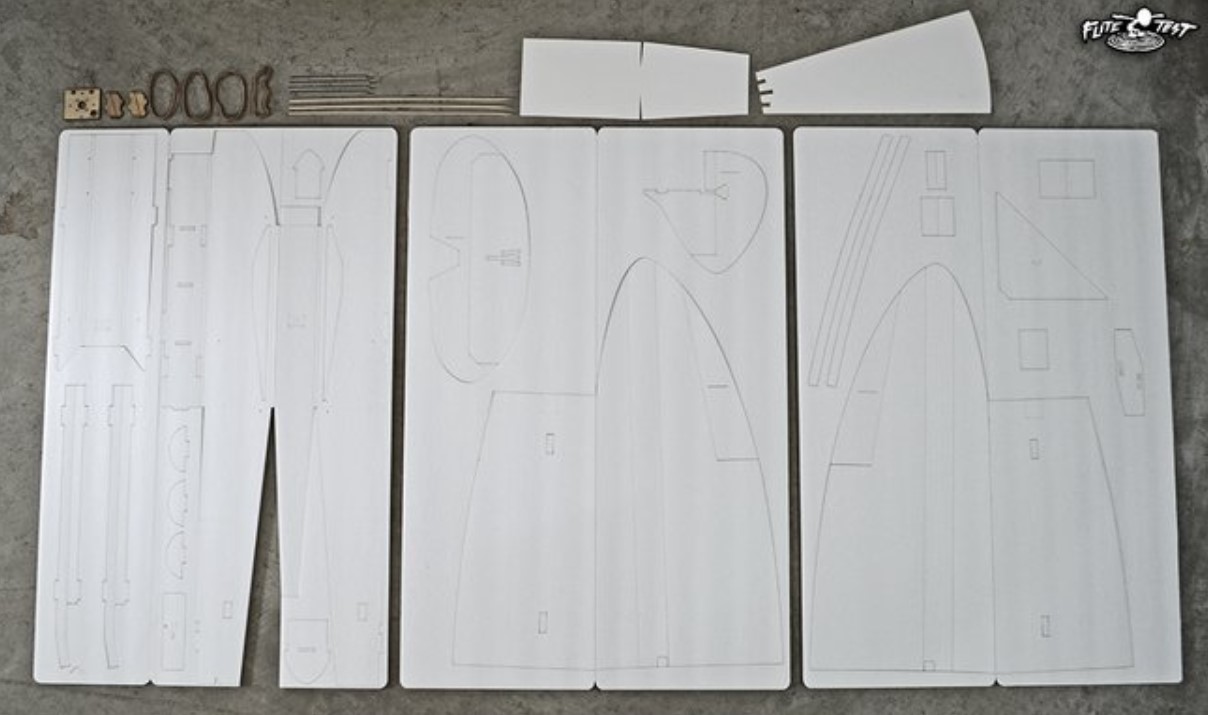
There’s 2 ways to make this plane: either download the plans (left) and source and cut the foamboard yourself or buy a laser cut kit (right) that also includes the electronics; we got the kit version.
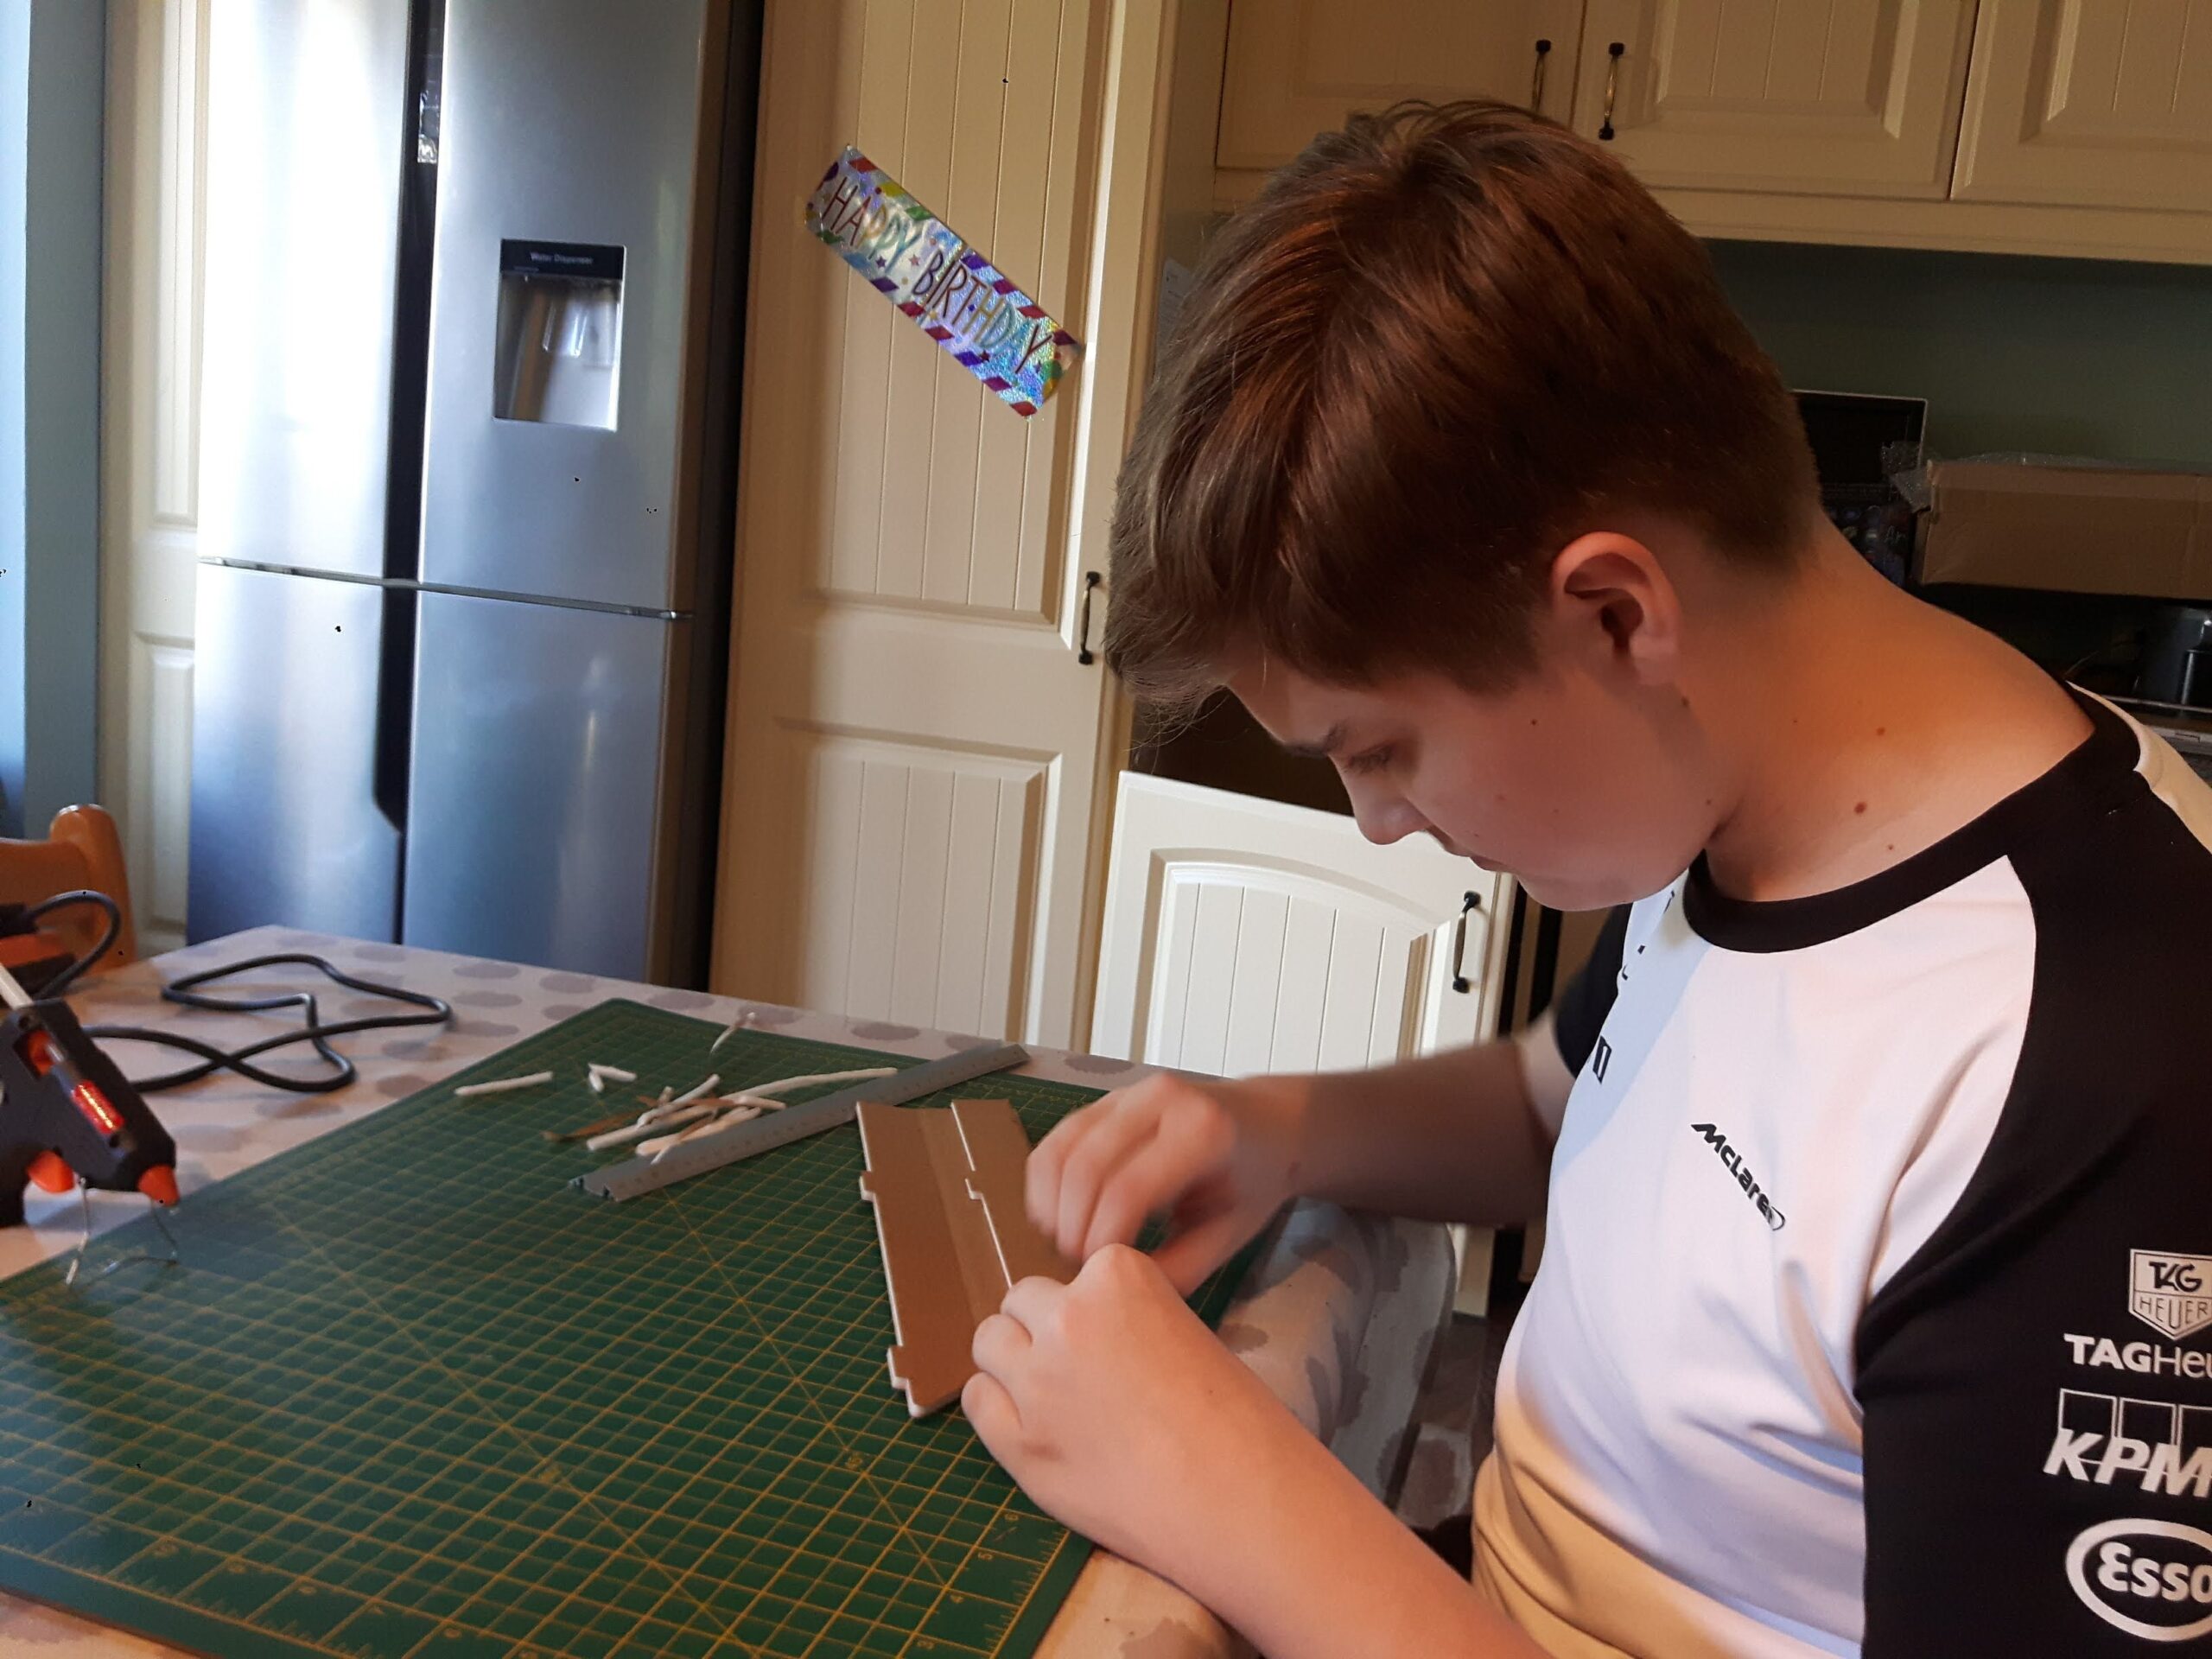
The first step was to build the “power pod”, this removable pod holds the motor, battery, receiver and ESC. We then reinforced the front of the pod with fiberglass tape to prevent the motor ripping itself off of the plane.
Next was to make the wings:
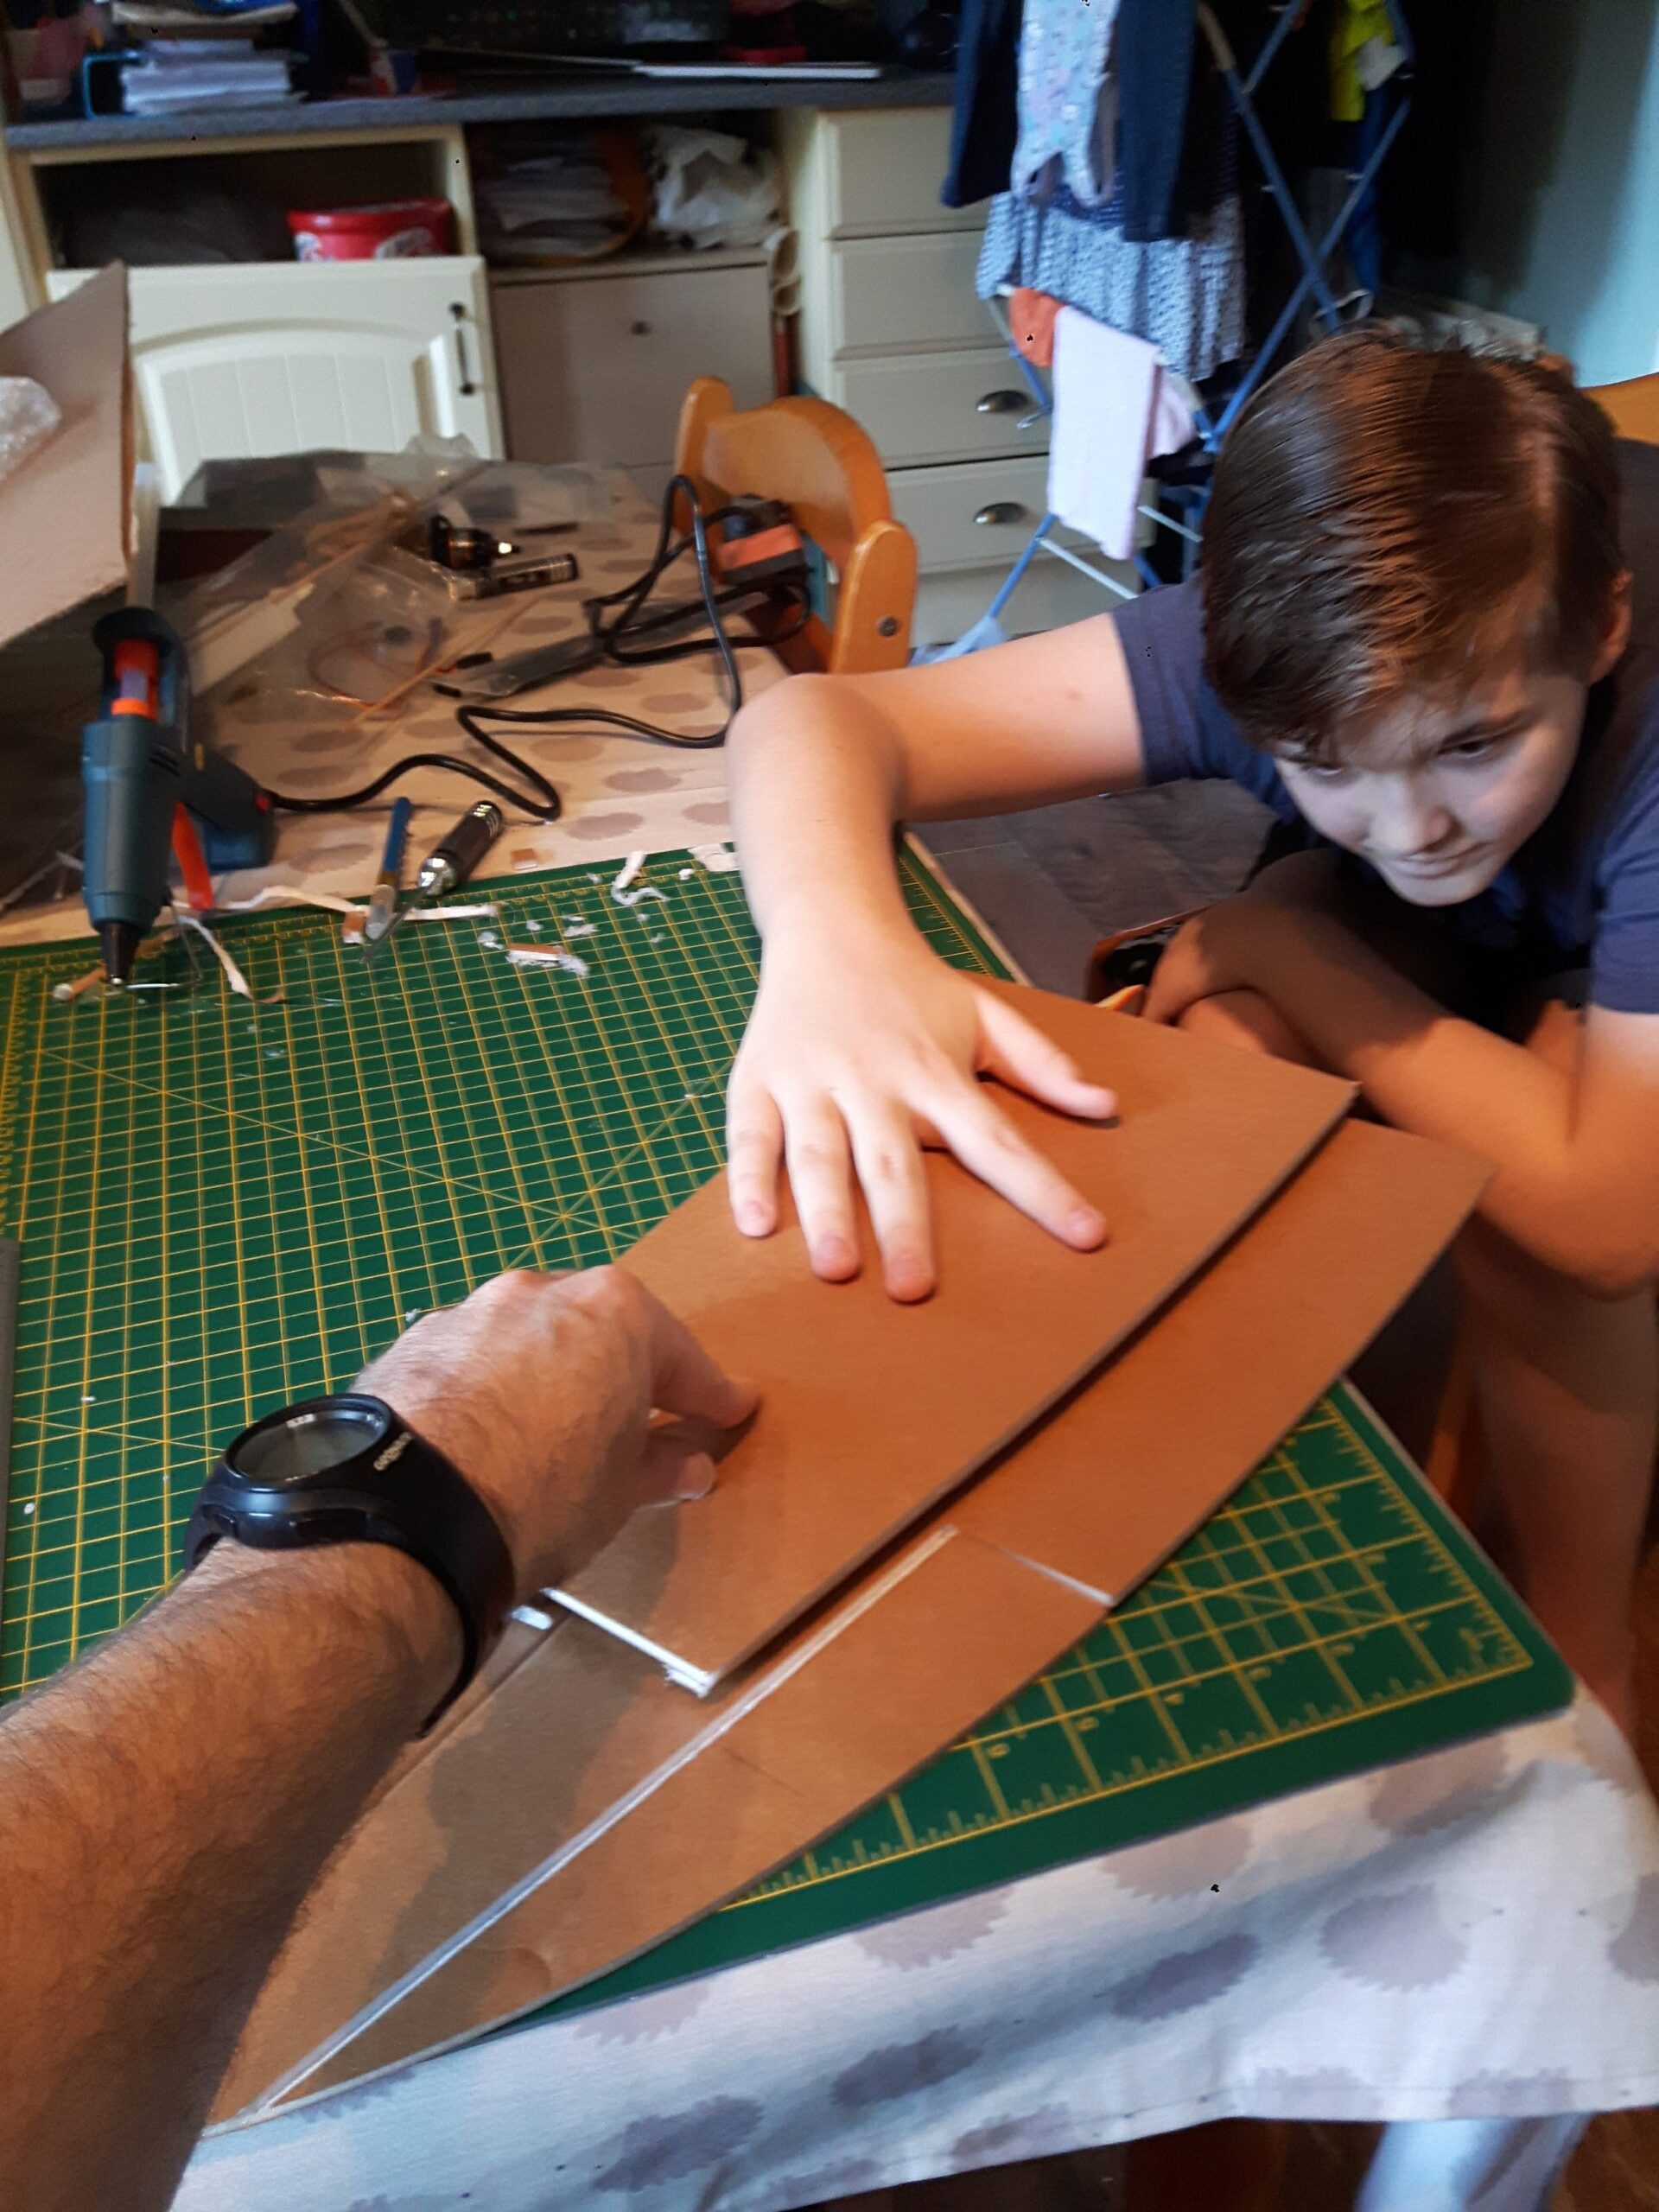
The wings are designed really well and the process to assemble is well thought out. First you make the ailerons by cutting a 45° wedge out of the wing and the aileron to give it some clearance, you can see this a bit in the left picture. We then squirted a thin line of hot-glue along it and spread it into a thin film as the only thing holding the aileron on was just the paper of the foamboard.
Once the aileron was done we repeated the 45°cut for the leading edge of the wing and then scored some lines on top of the wing to make shaping easier.
We then glued in a servo and glued the top of the wing to the bottom.
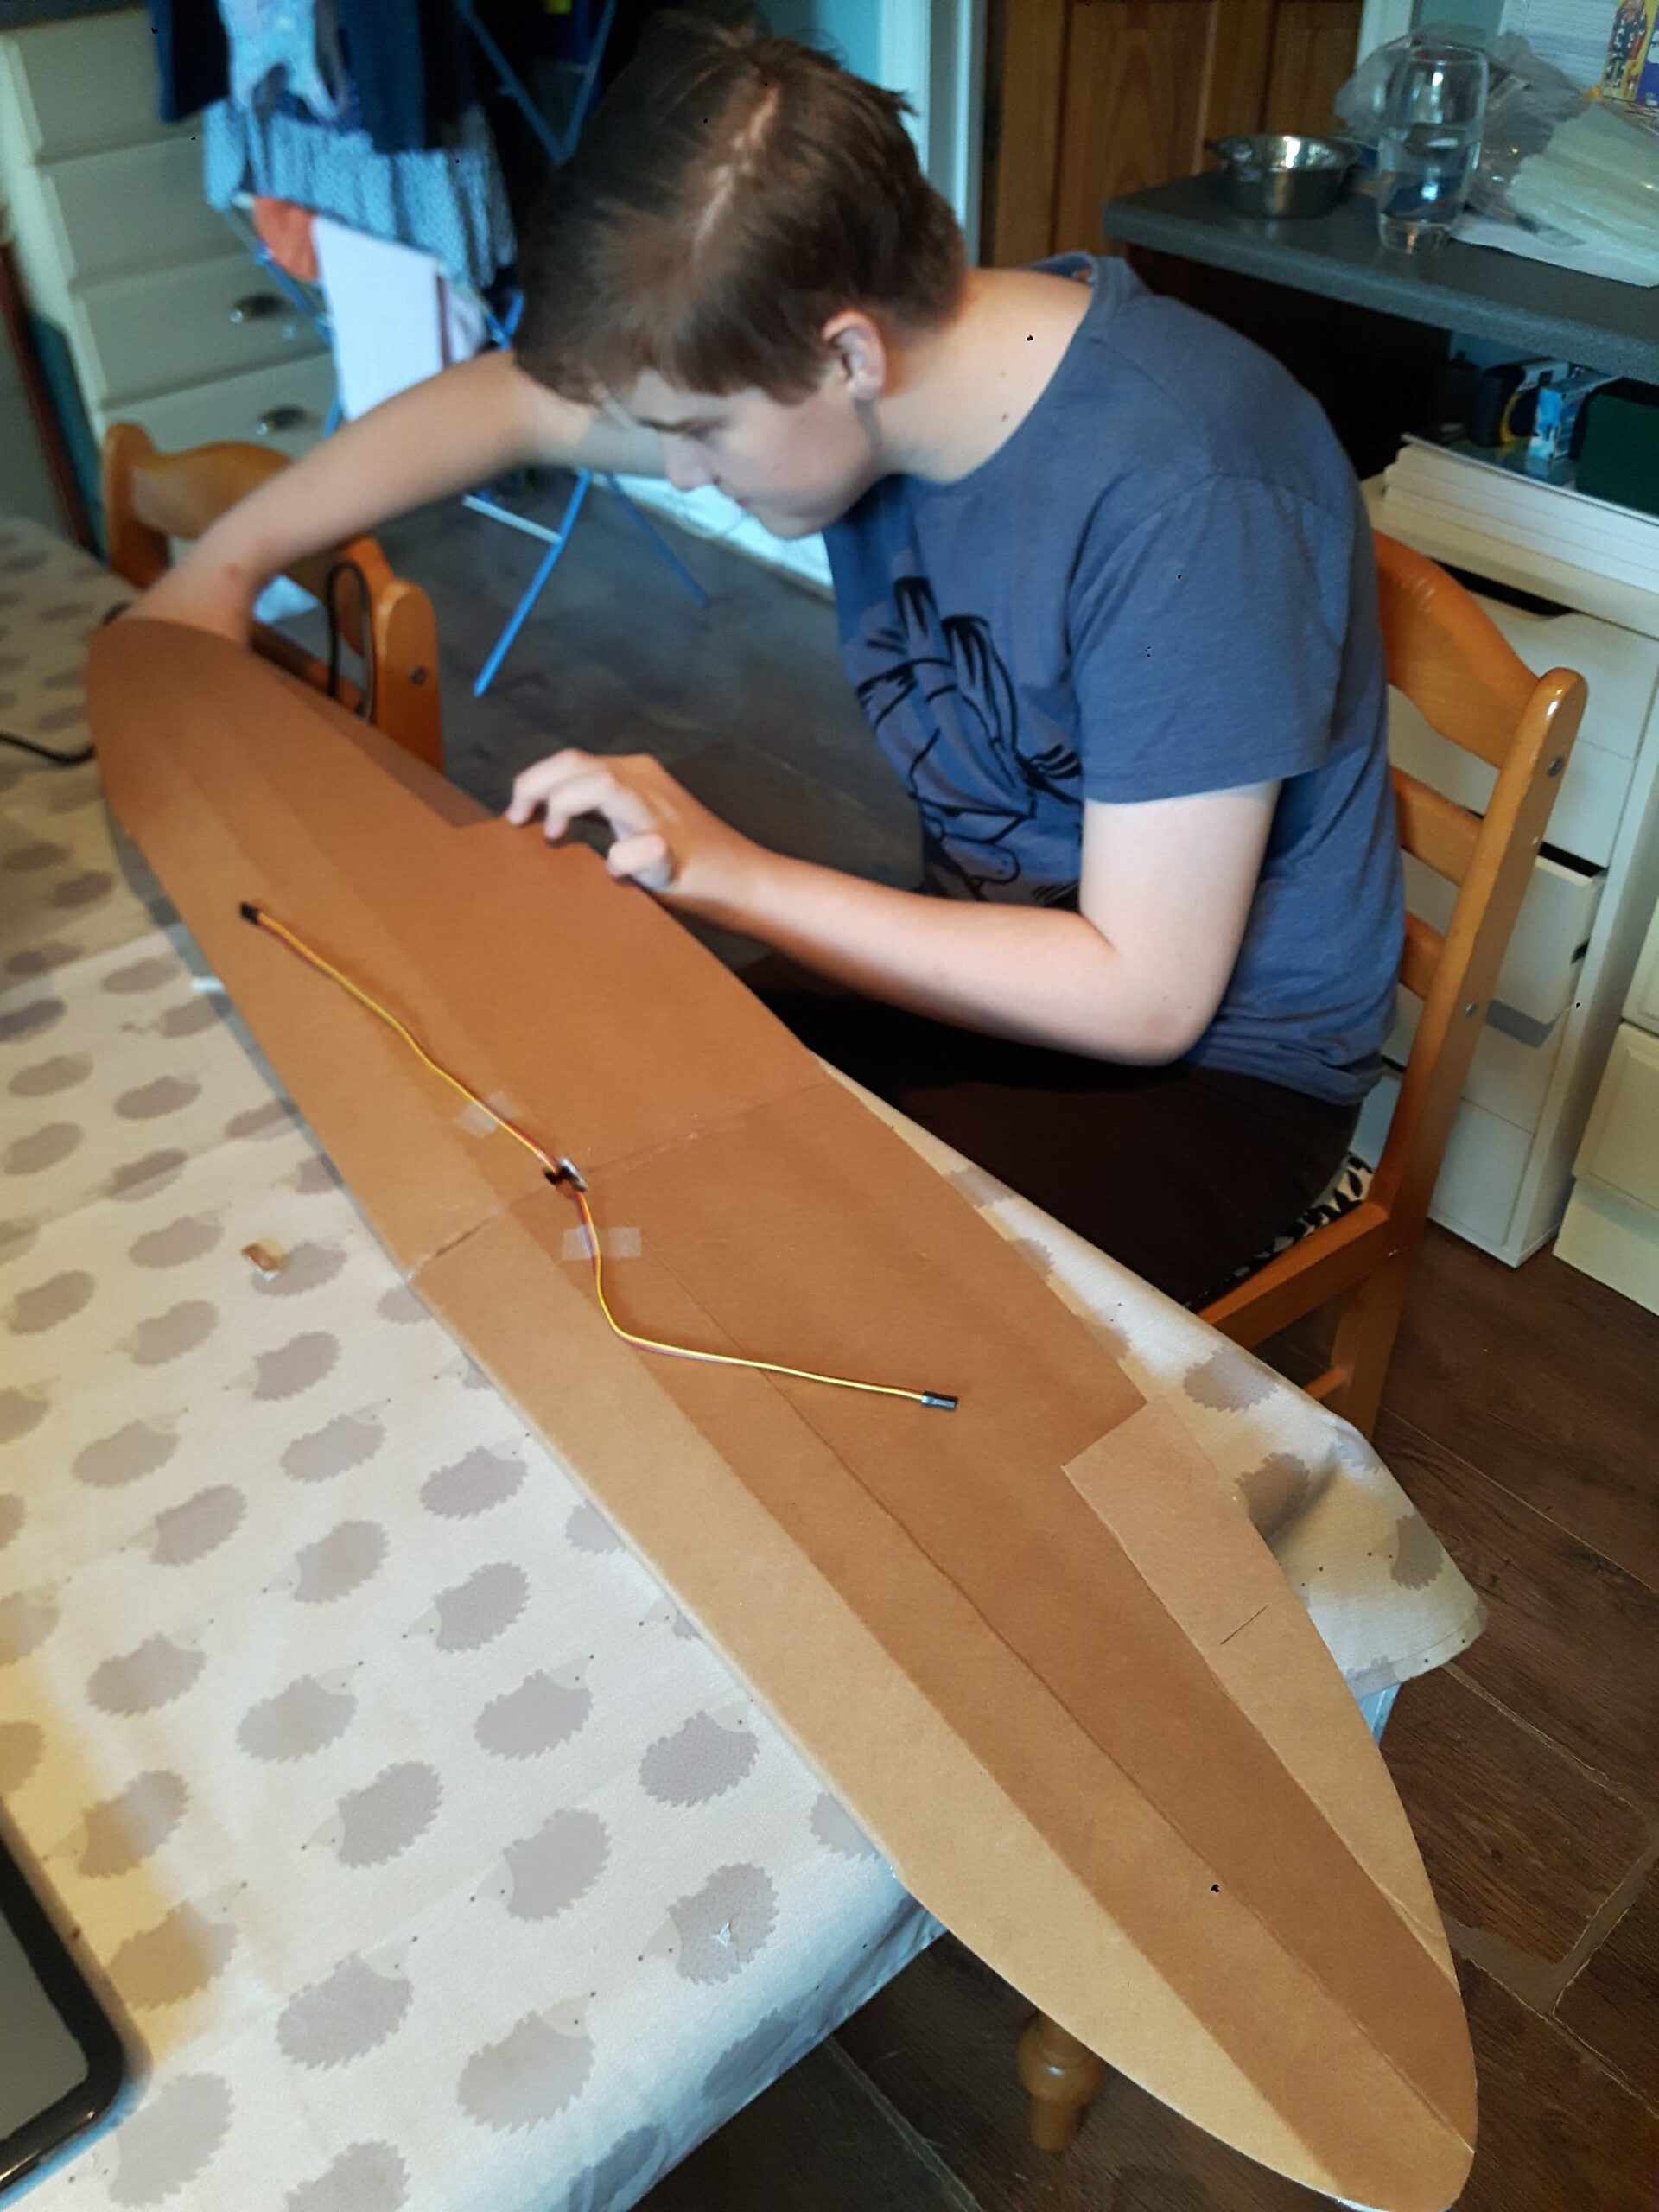
After finishing the right wing we did the left then glued the two together.
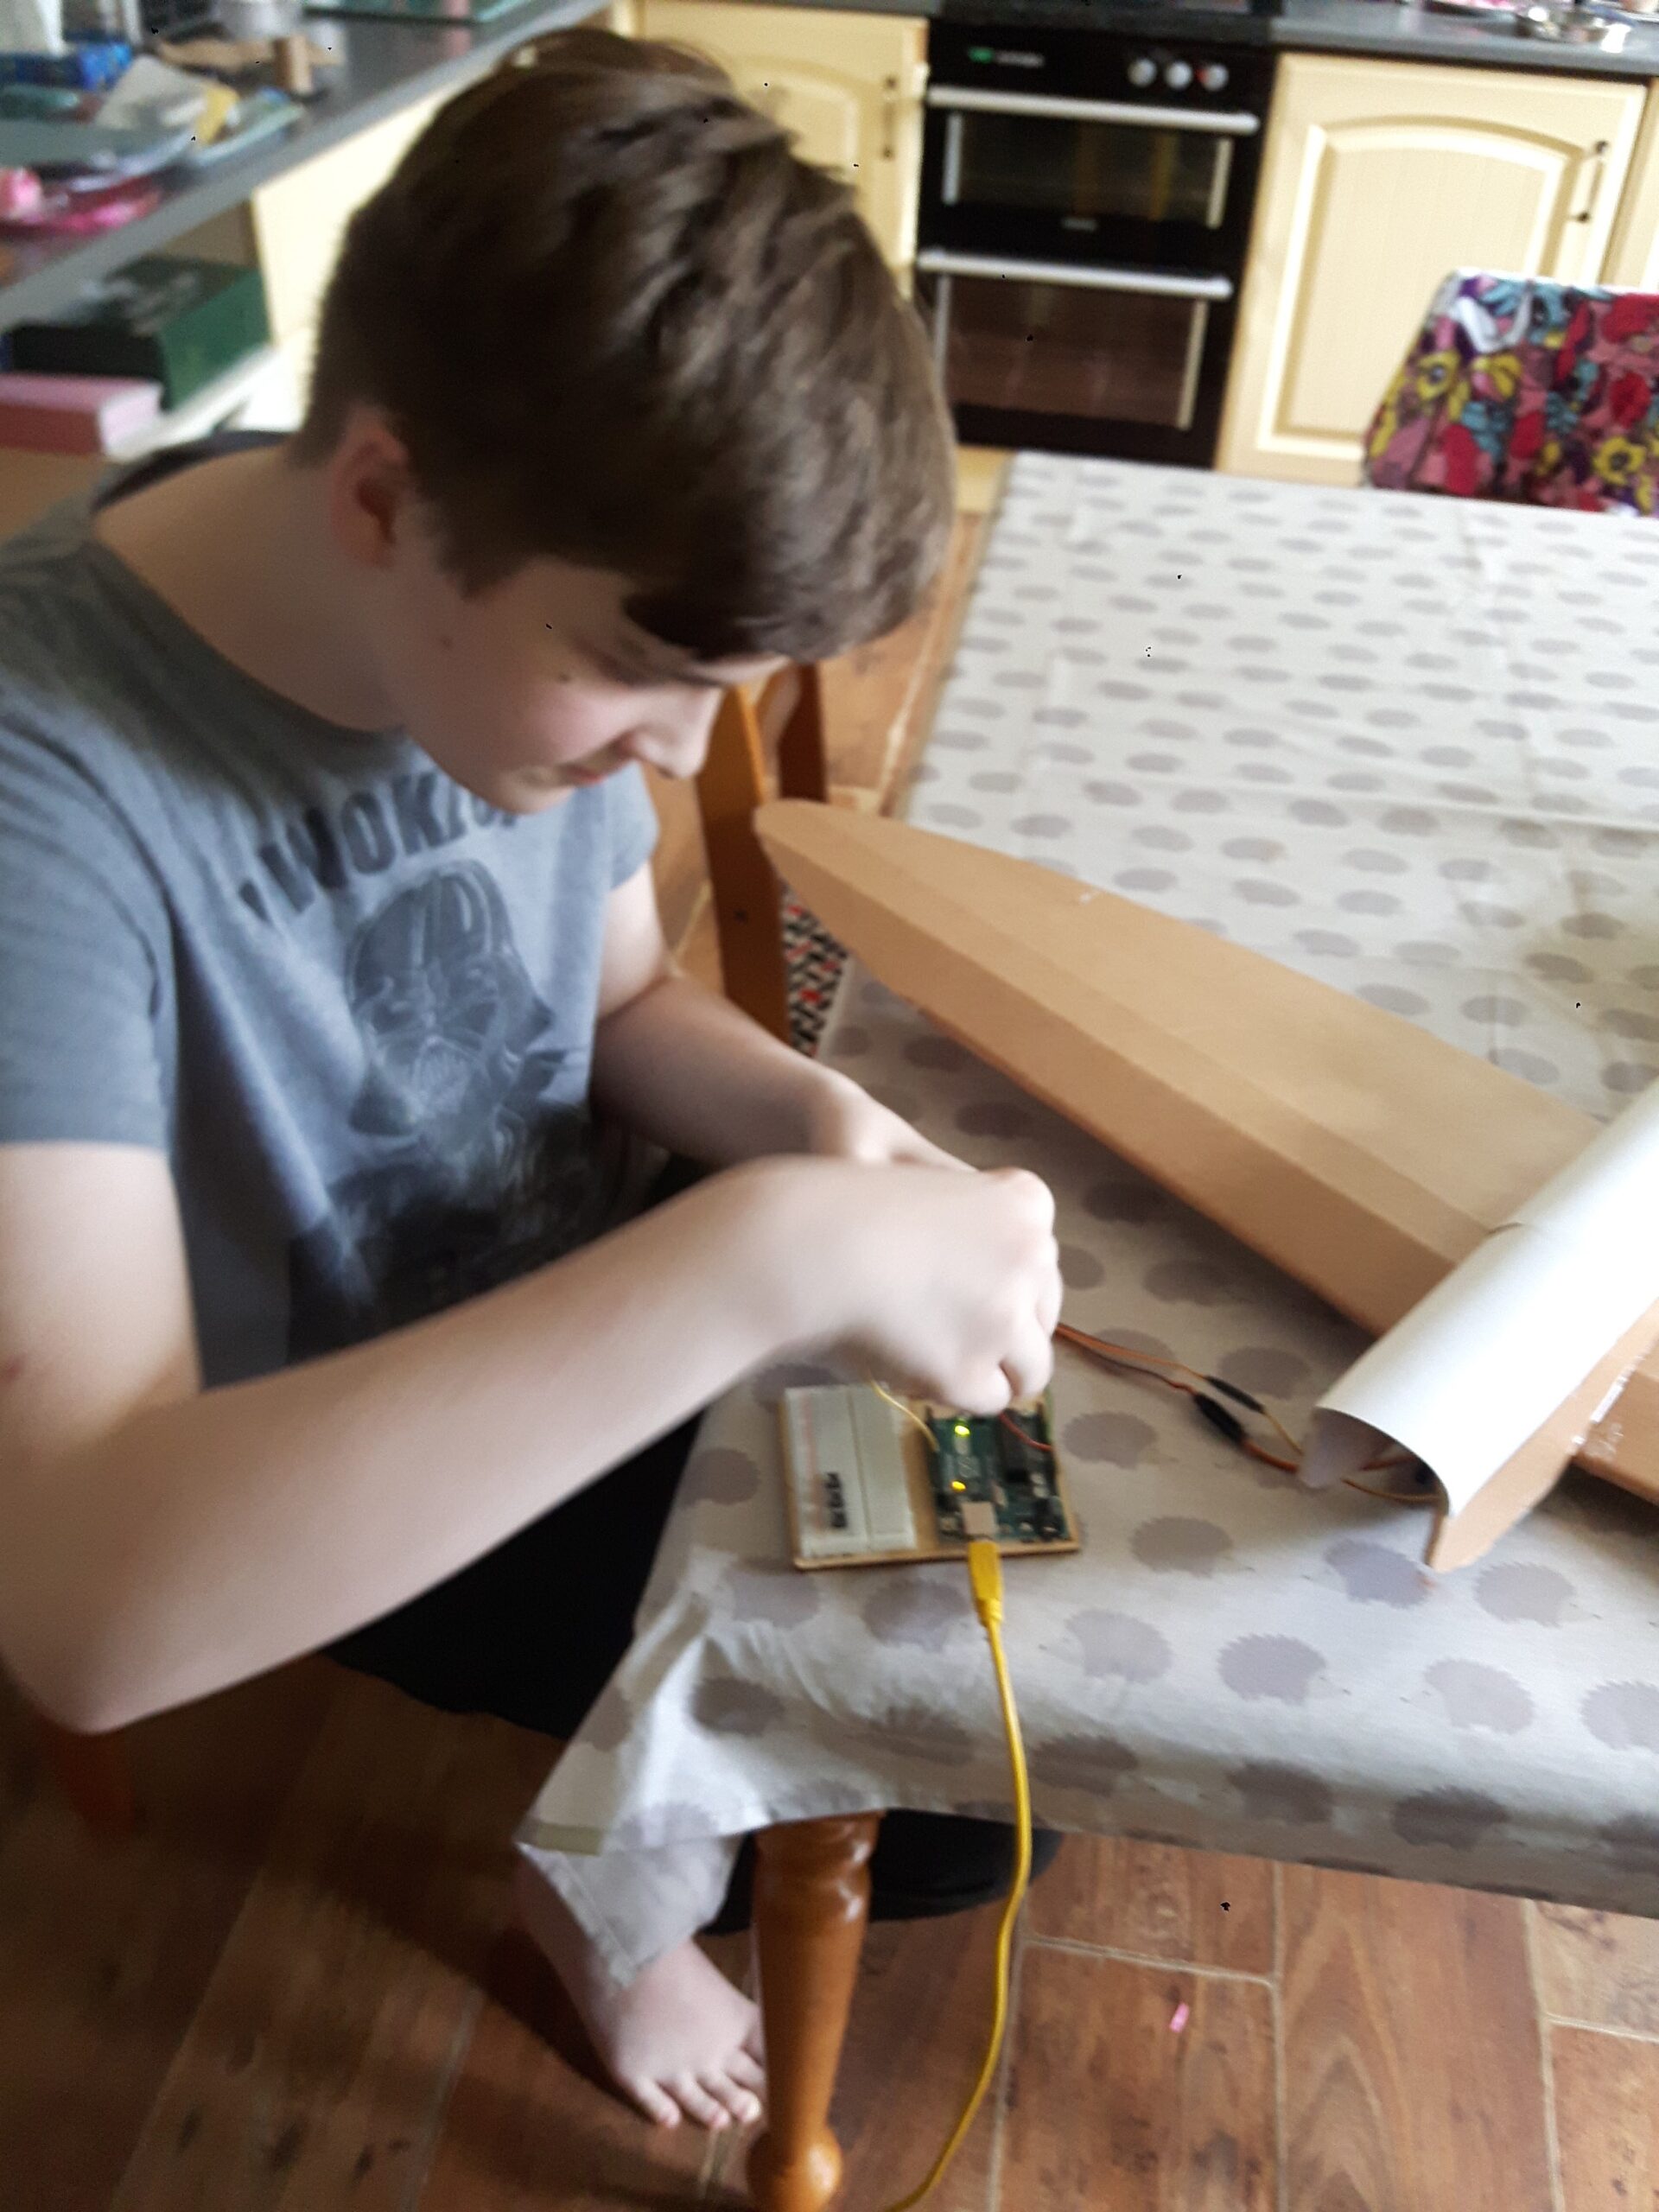
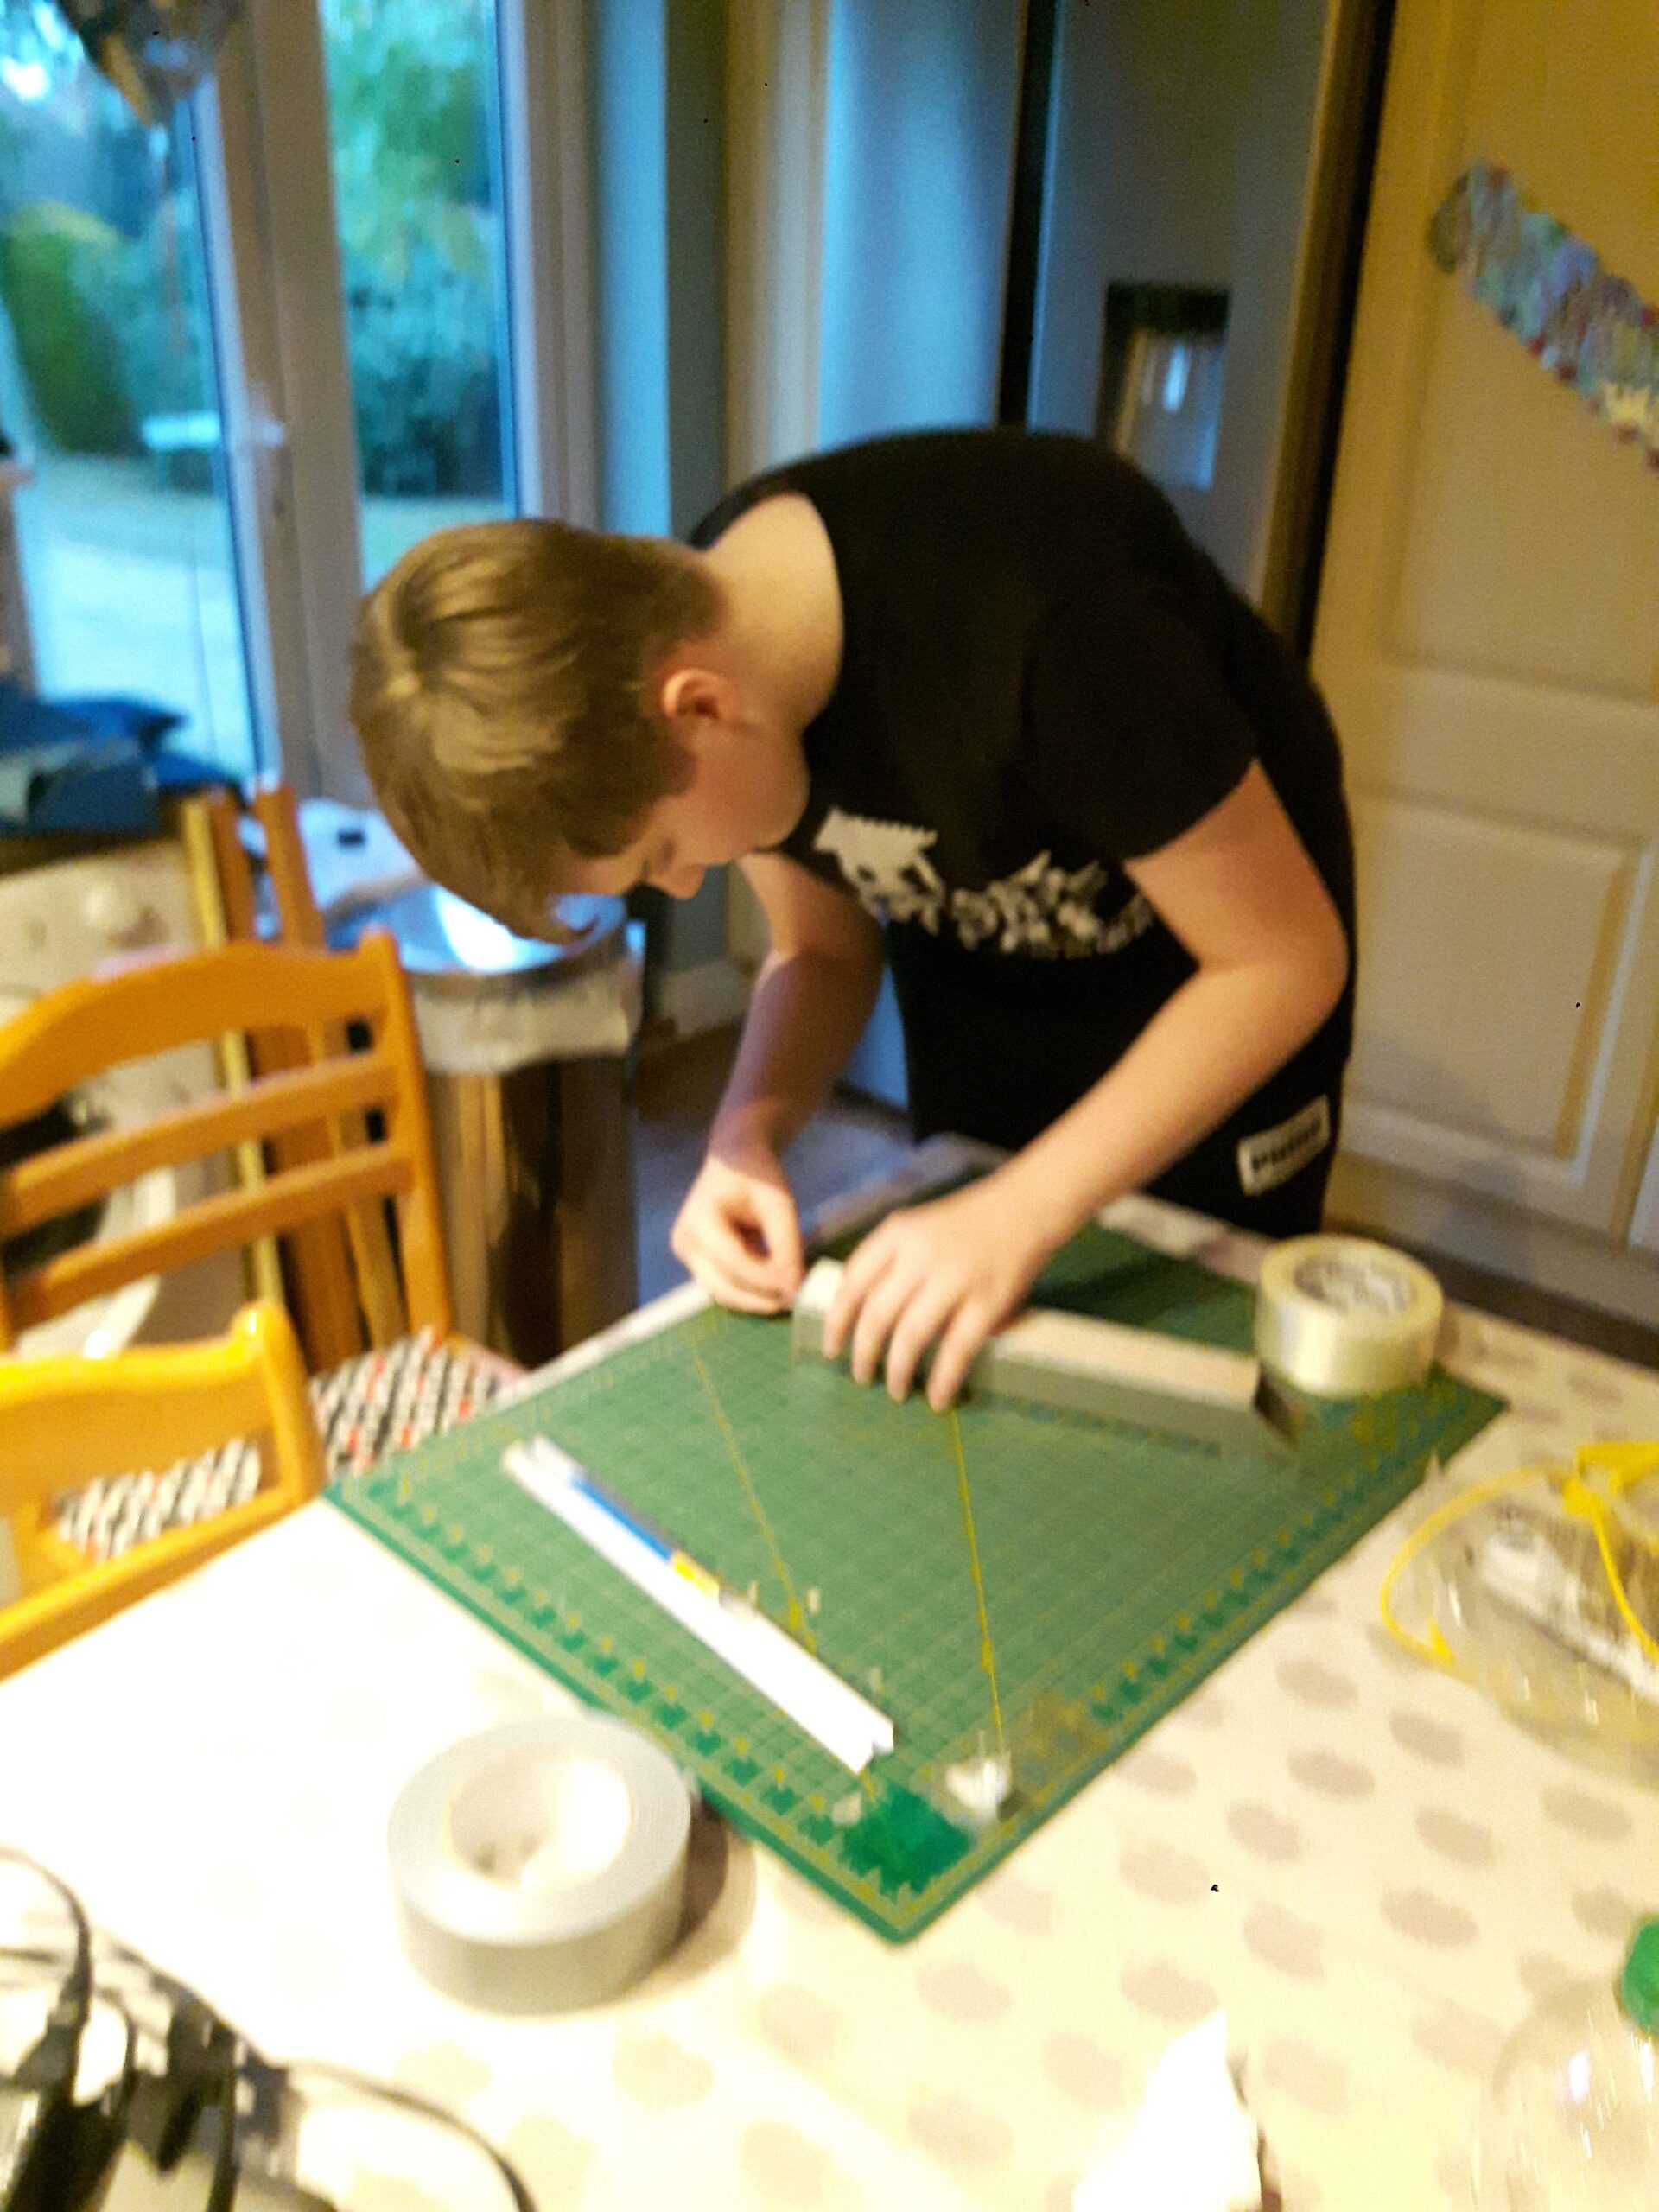
After a few more hours of gluing foam, burning our hands and forgetting to take pictures the plane was completed. The most frustrating part of making the plane was fishing the servo wires through the fuselage but once that was done I tested the movement by using an Arduino Uno to test sweep the range of motion of each servo and control surface.
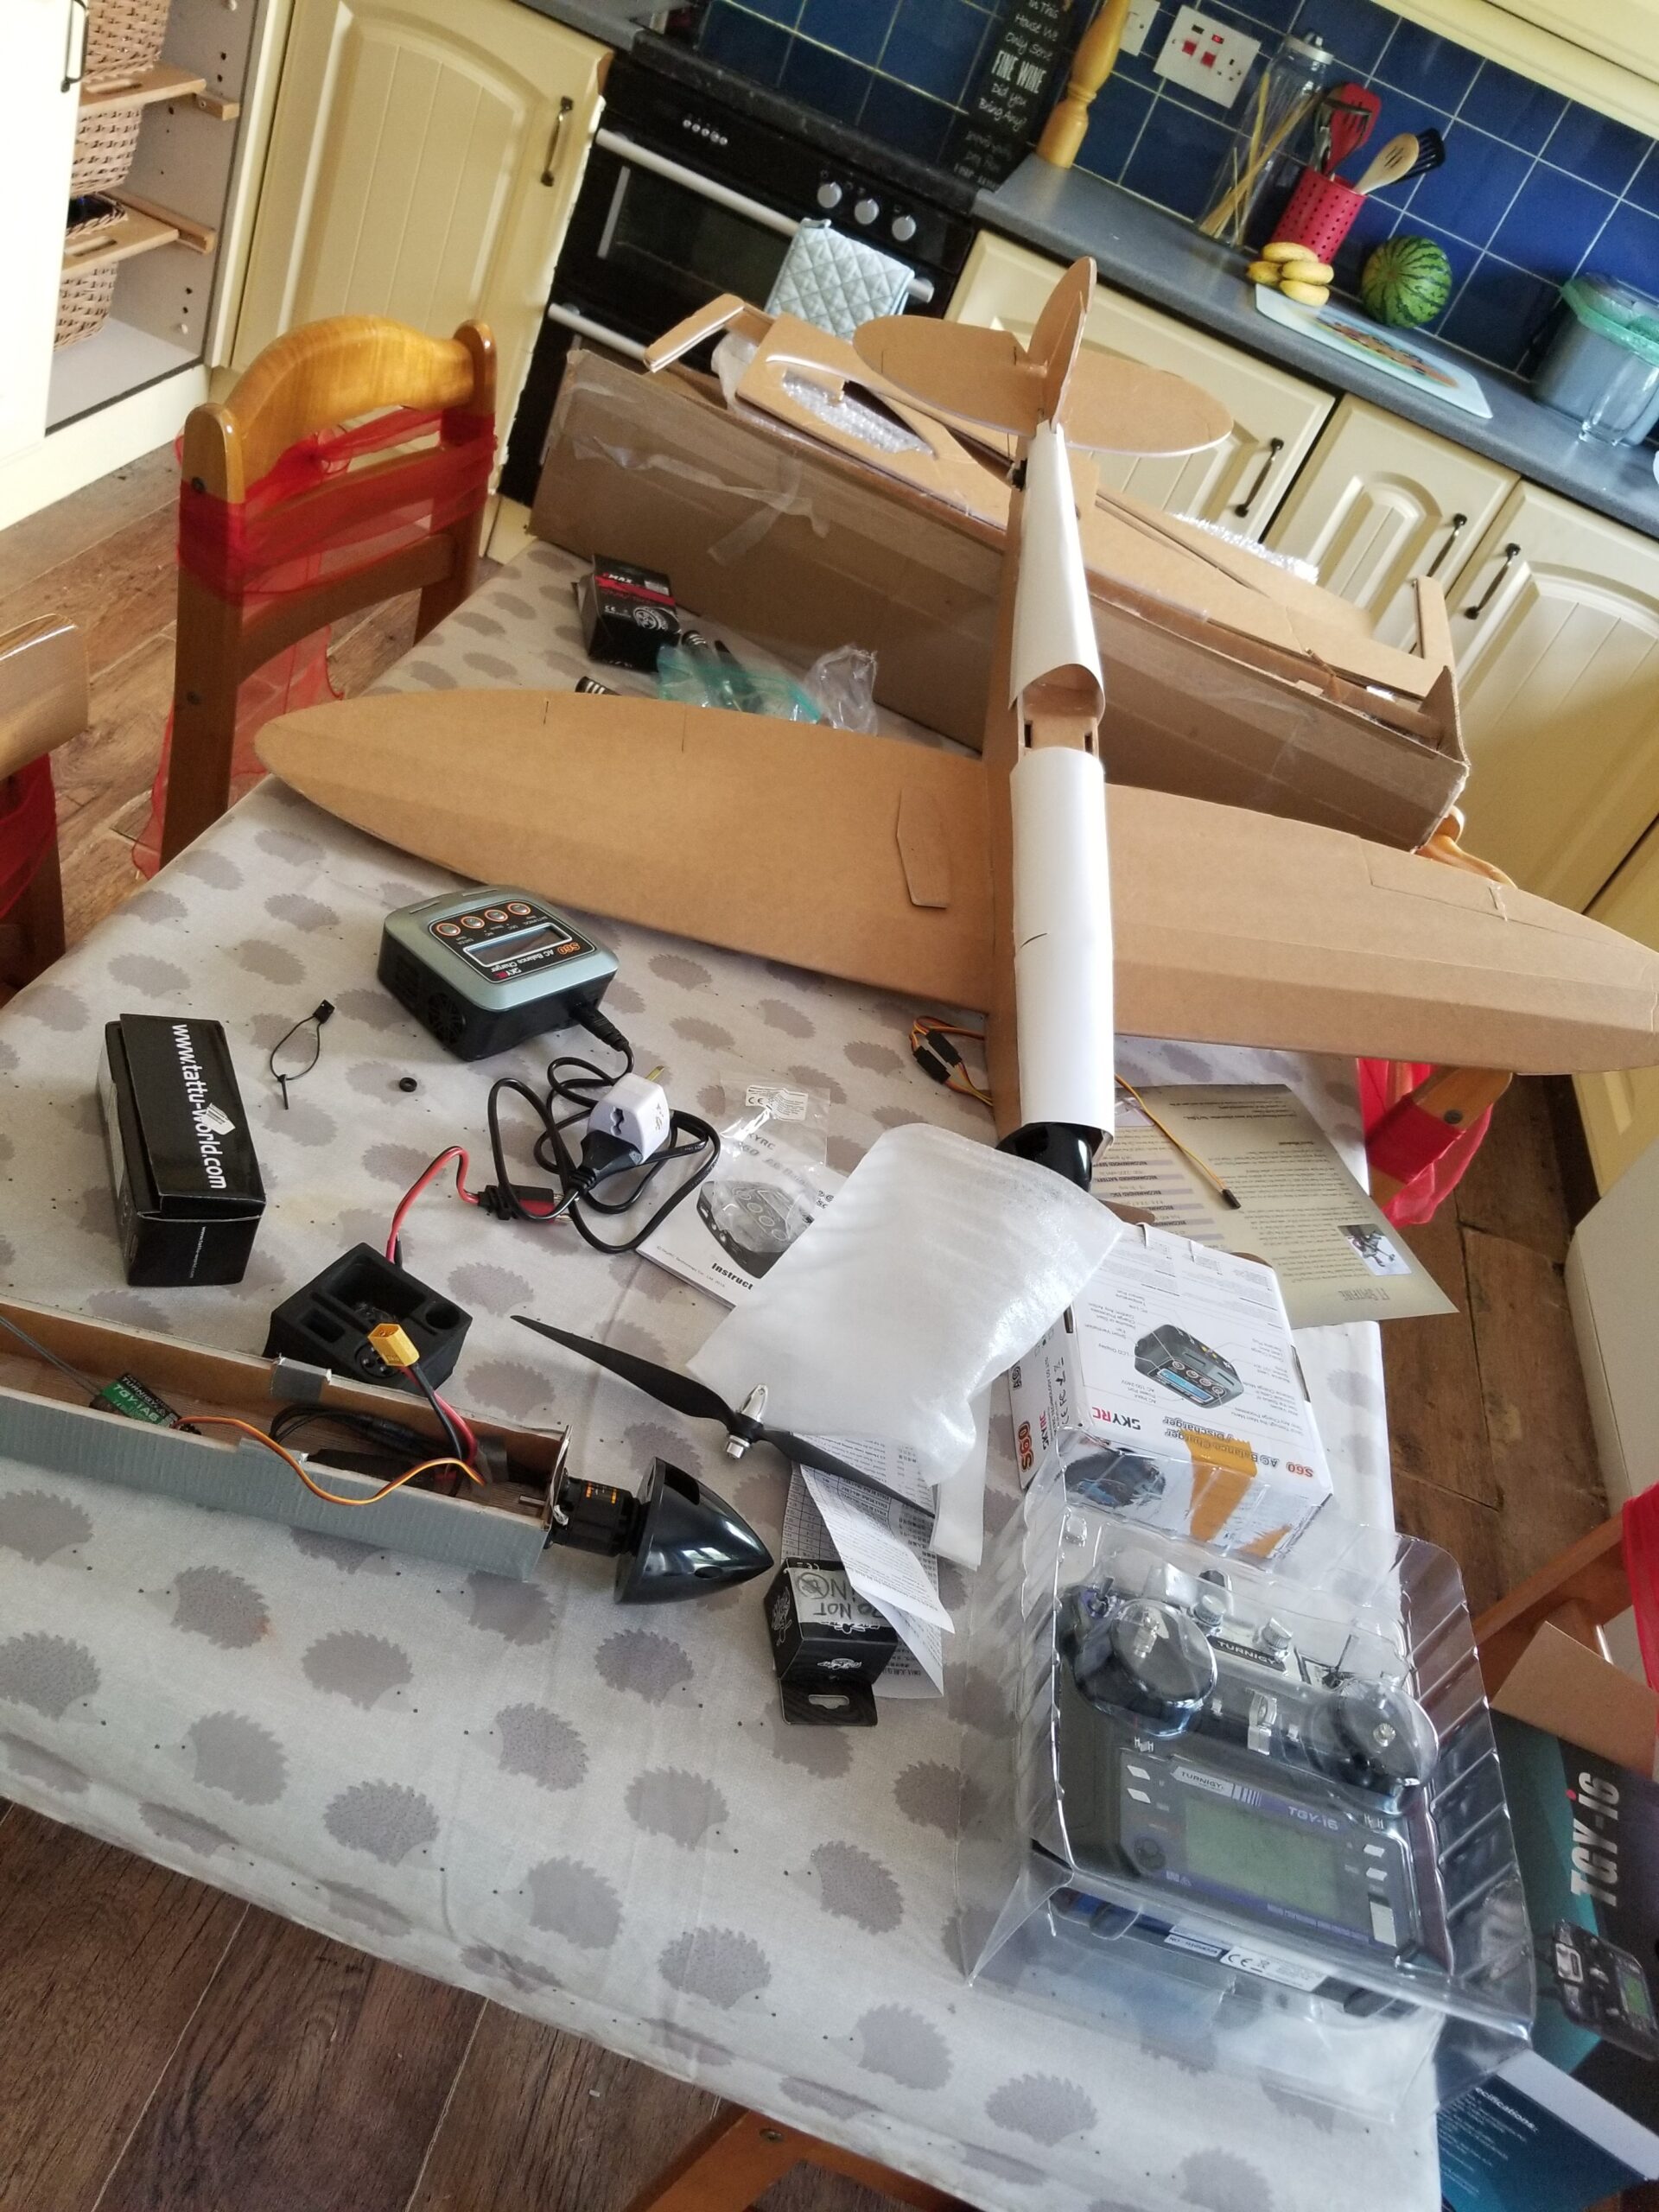
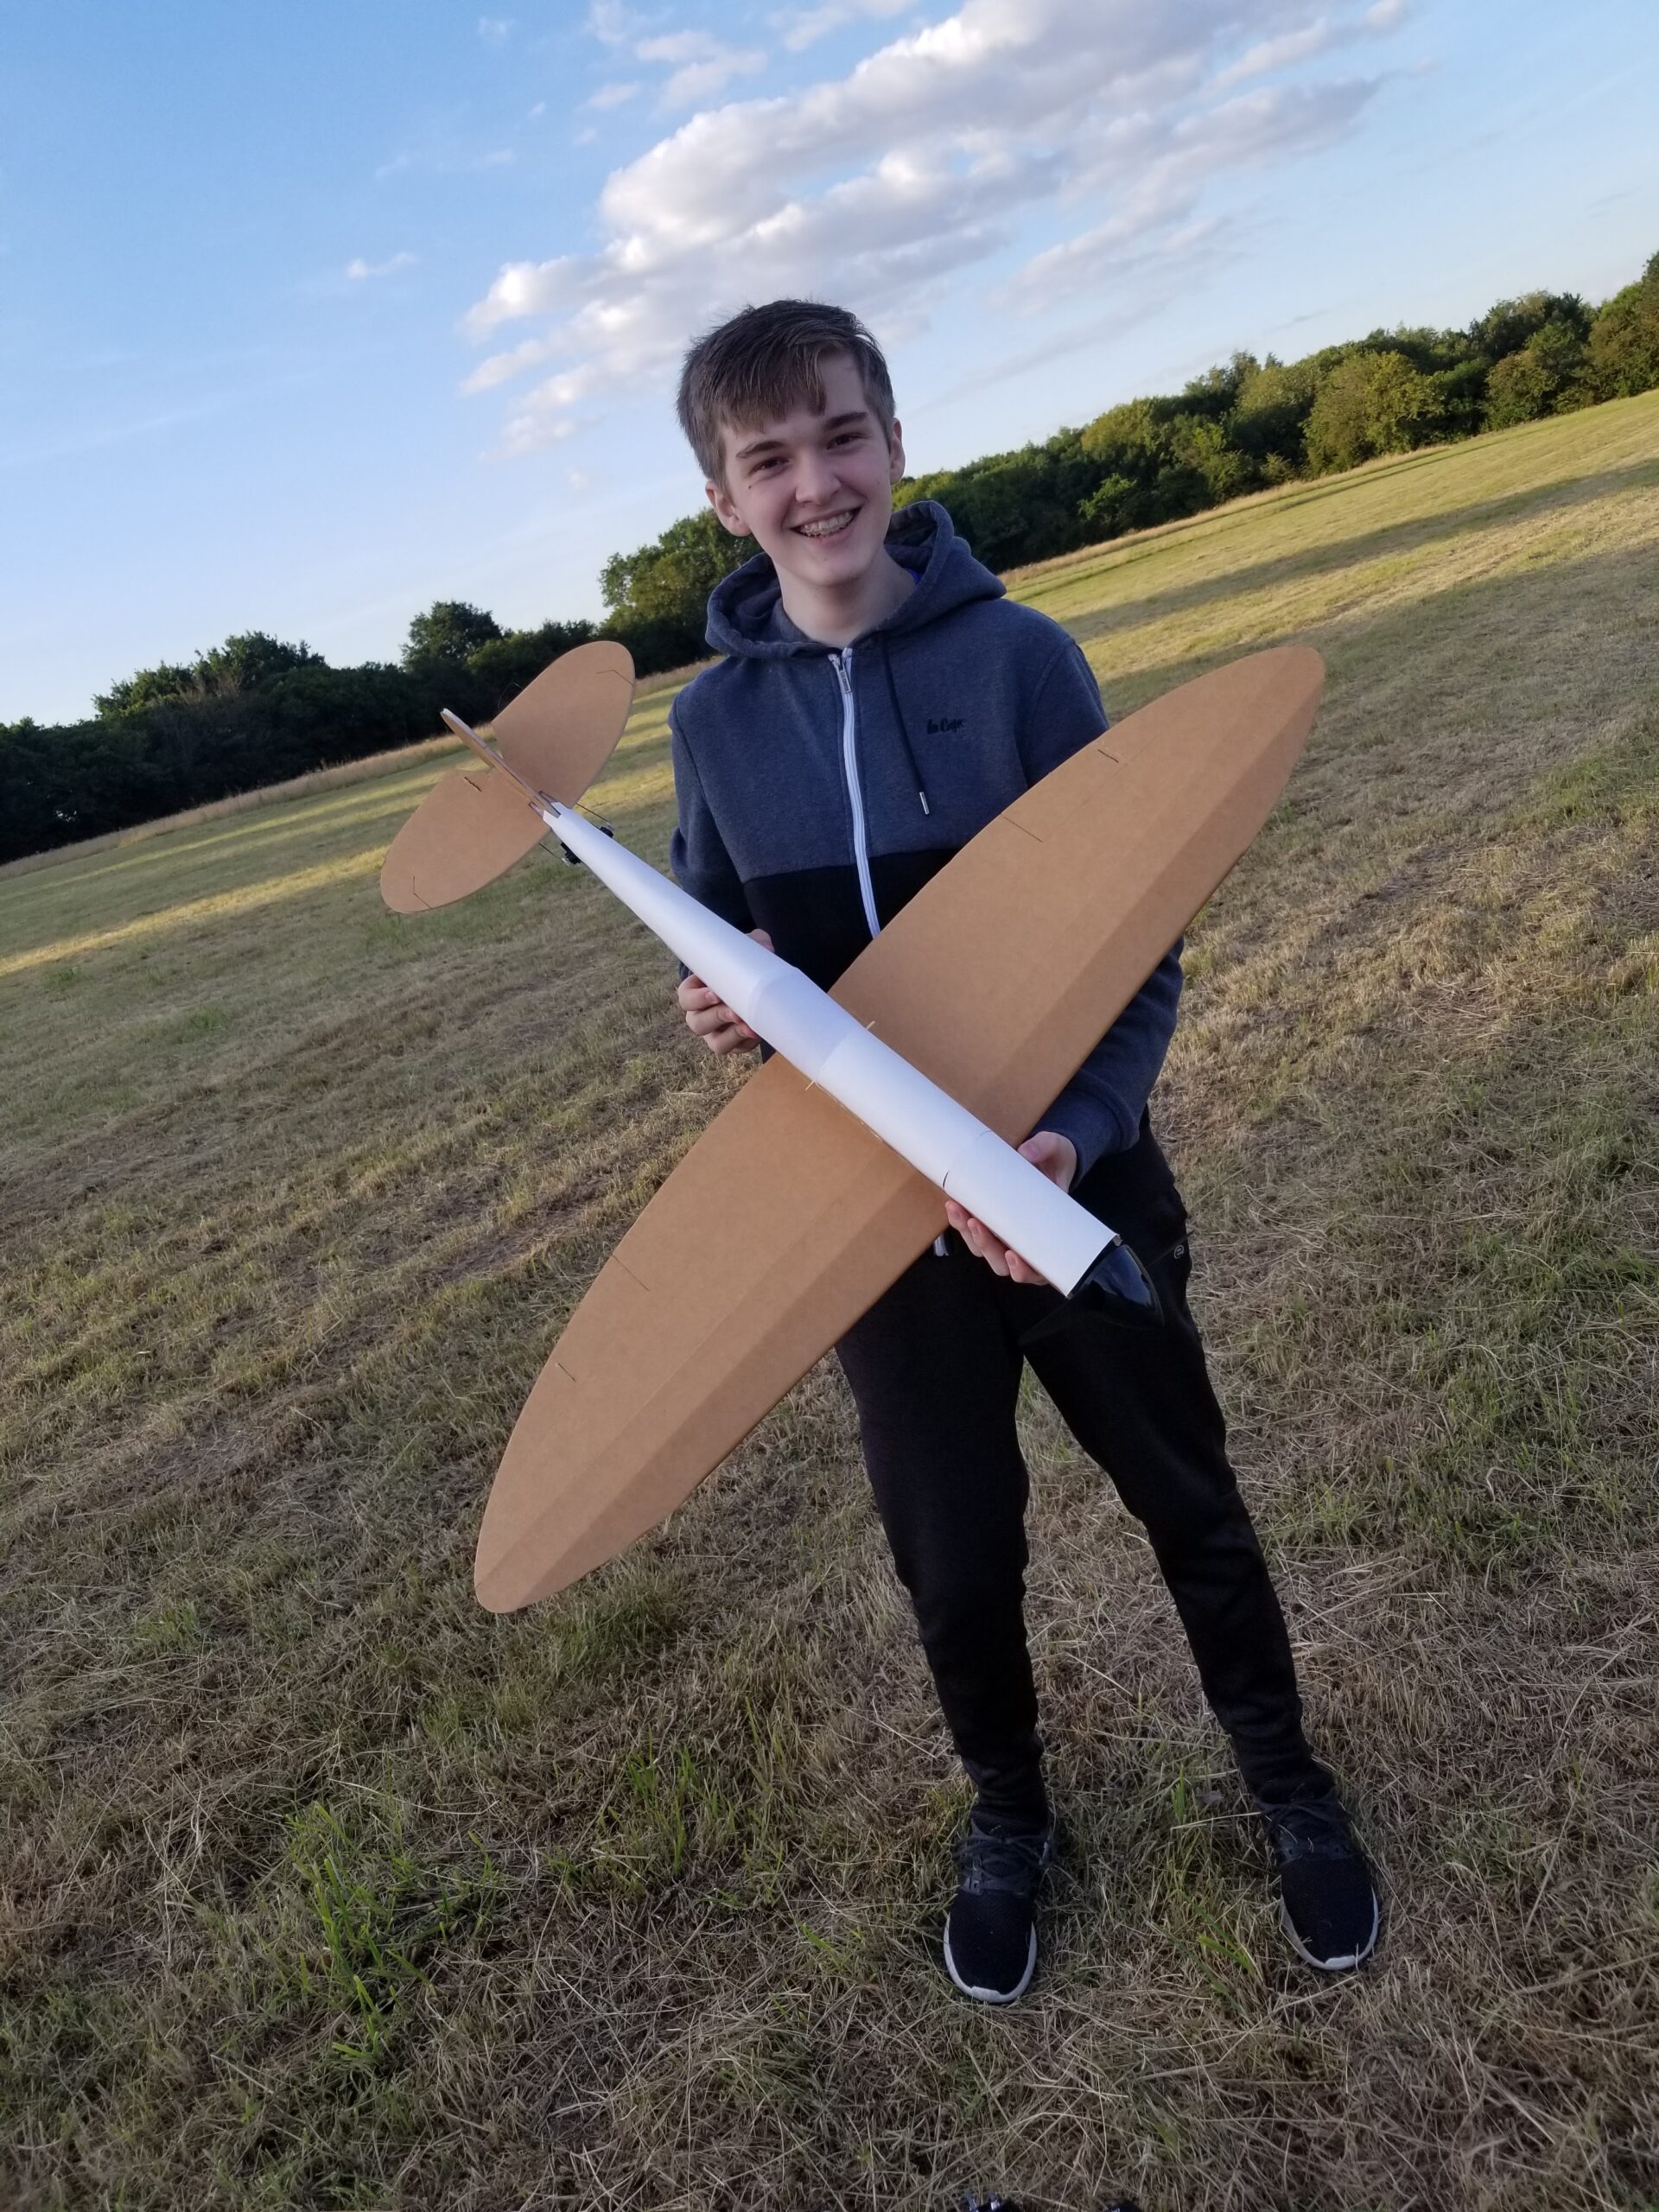
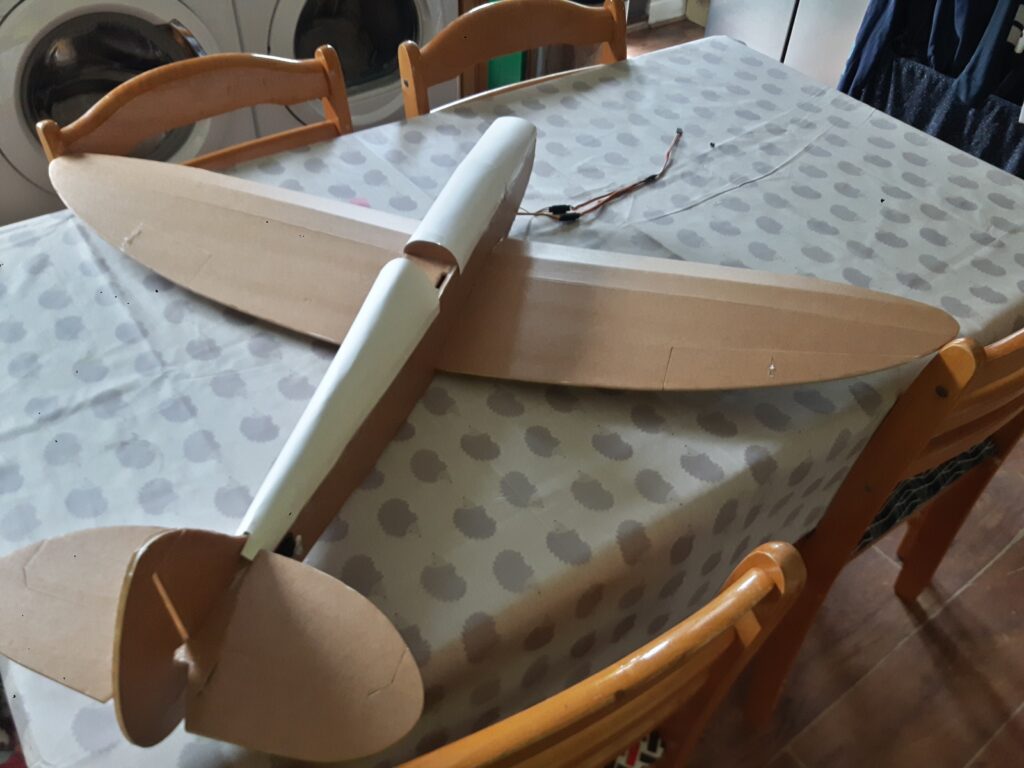
Finally the plane was completed, now the only thing to do was to charge the brick of lithium and fly it!
The very first flight lasted all of 5 seconds as I didn’t realise that ALL of the control surfaces were inverted; as expected the plane nosedived immediately and slammed into the ground, slightly snapping the leading edge of the left wing.
Fortunately the plane wasn’t damaged too much and we were able to fly it again after checking the controls. The plane flew really well and was very stable as the rudder had enough authority that you didn’t really need to bank to turn which, as a beginner flier was very helpful.
After flying for around 5-10 minutes I noticed the motor wasn’t giving as much power as it had so we assumed that battery was probably nearly flat so I landed it; the plane has no landing gear and for some reason my dad didn’t trust my flying enough to catch it for me so a belly landing it was (which the plane is designed for really). The belly landing went well although it broke the plastic propeller but that was fine as they’re quite cheap in bulk. The wing was easily fixed with hot glue as it is only foam board.
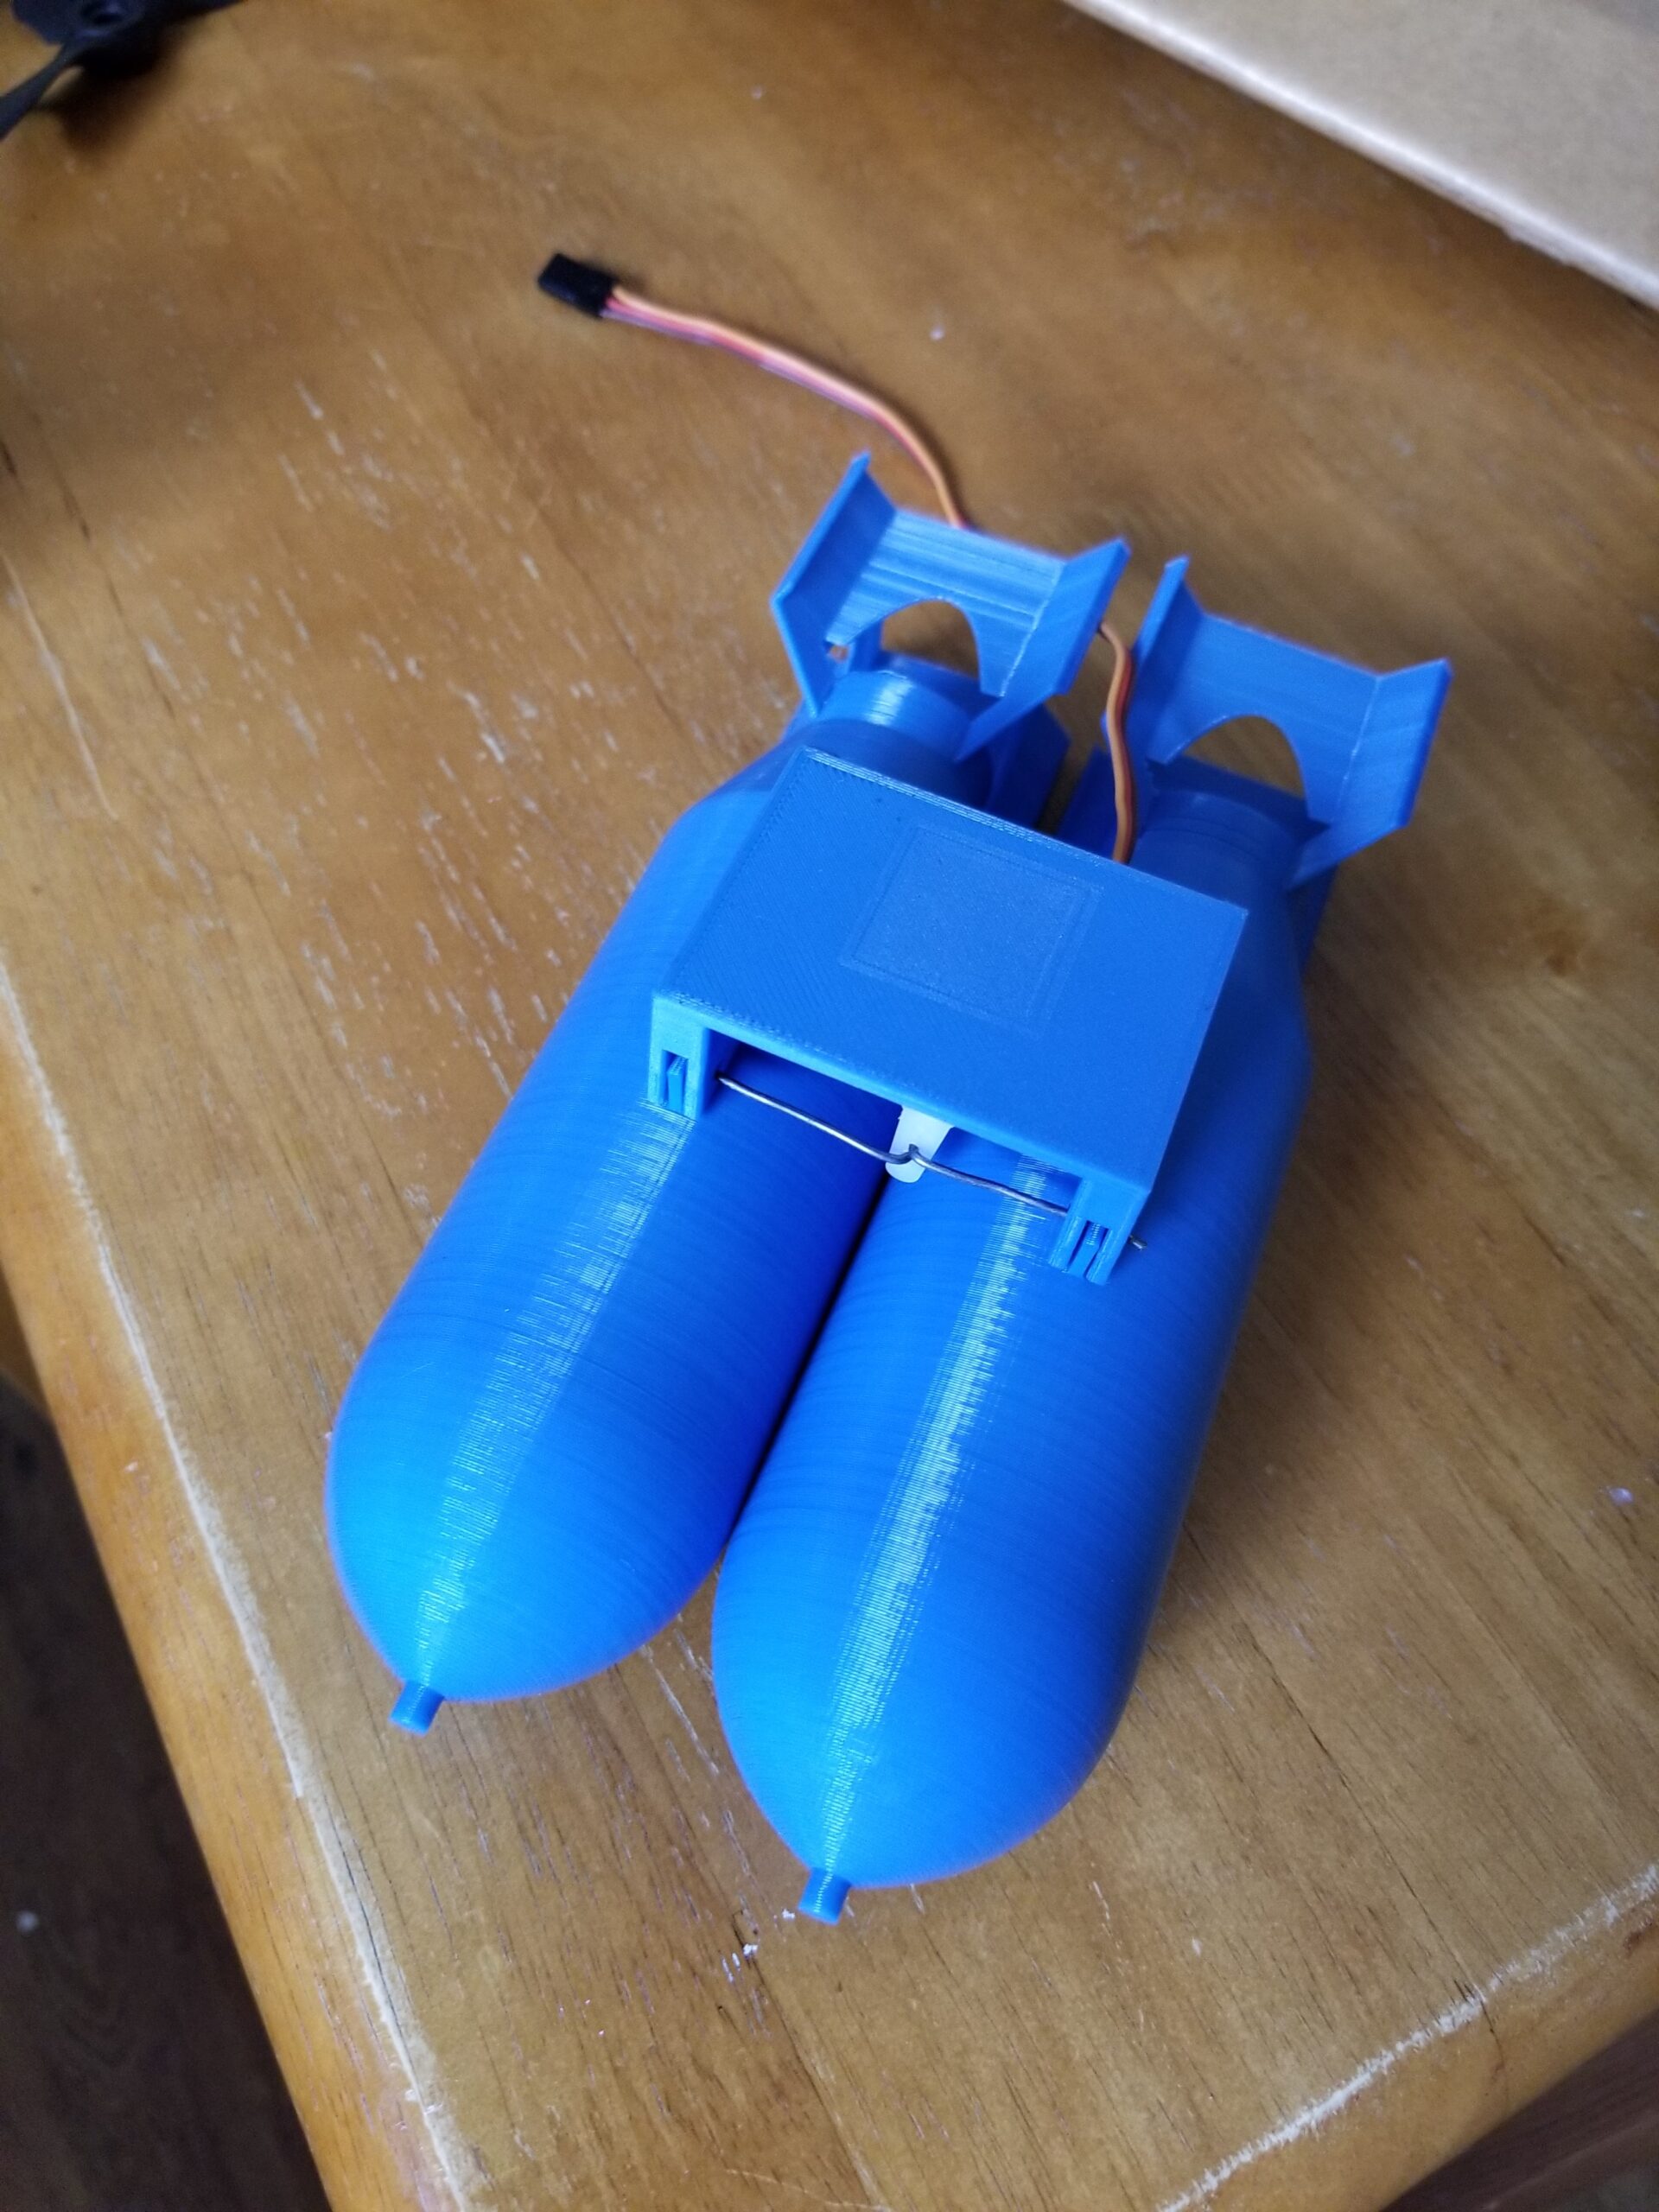
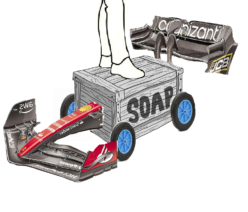
After getting home my mind was filled with things to add to this thing, eventually settling on making a “bomb” rack for it, pictured above.
All in all I think this is a very good design and is very good for it’s price, I would recommend this to anyone looking to join the hobby!
Thankyou for reading and I hope you enjoyed!