For the Christmas of 2017 I got a kit for a Stratocaster guitar and after the holidays I started assembling it. This project was quite a while ago so a few details might be a bit fuzzy.
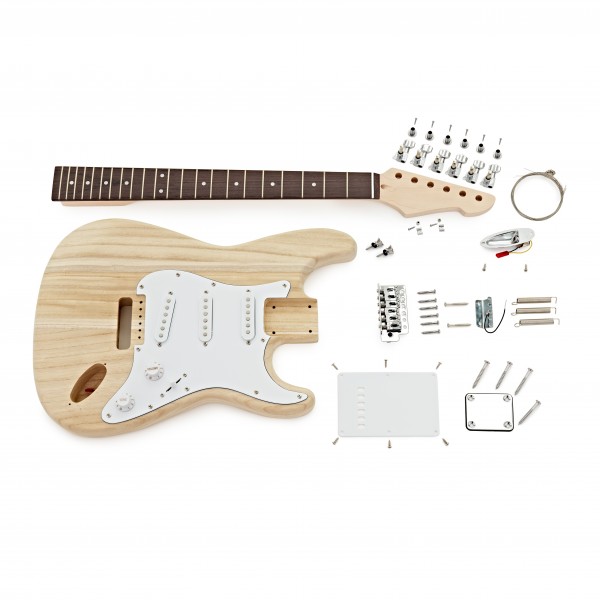
Here’s the original kit looked in the picture below;
including everything you need to make an electric guitar:
-body (un-stained and un-varnished)
-neck (un-stained and un-varnished)
-faceplate
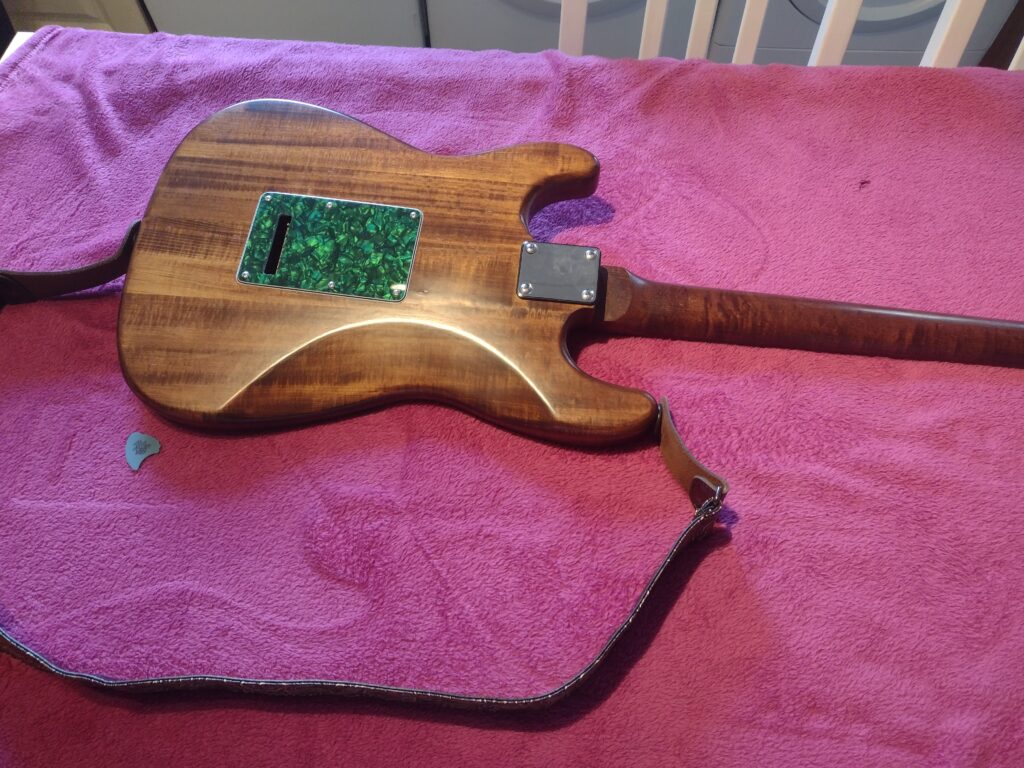
-rear cover
-bridge
-electronics (low quality pickups and strings)

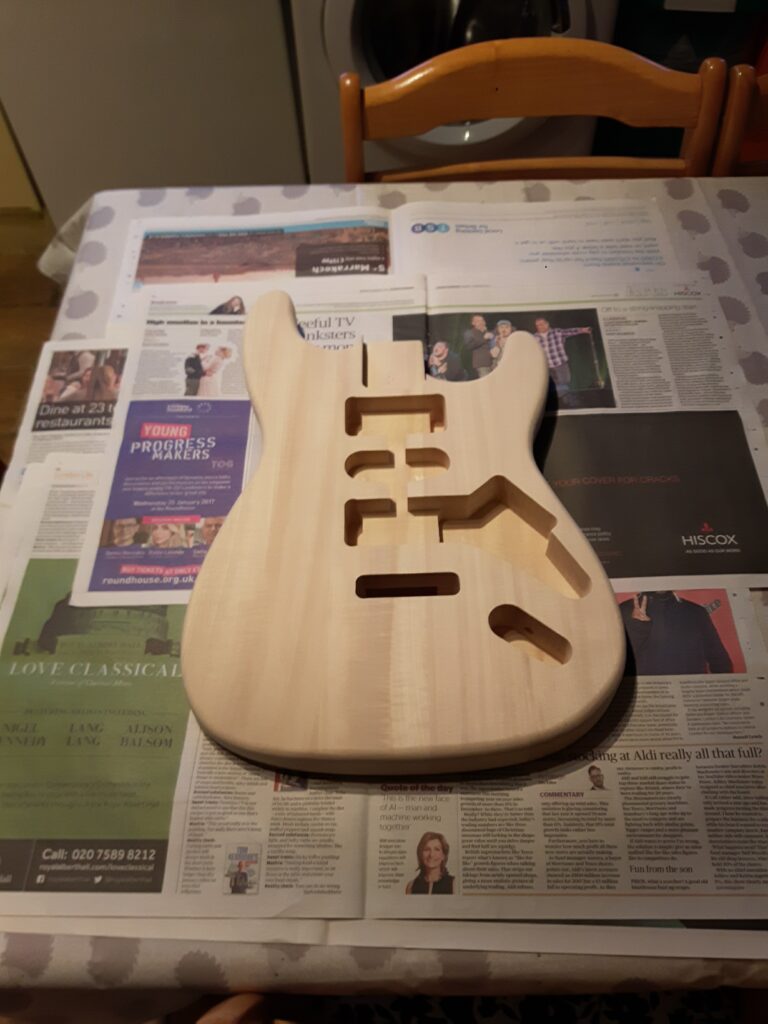
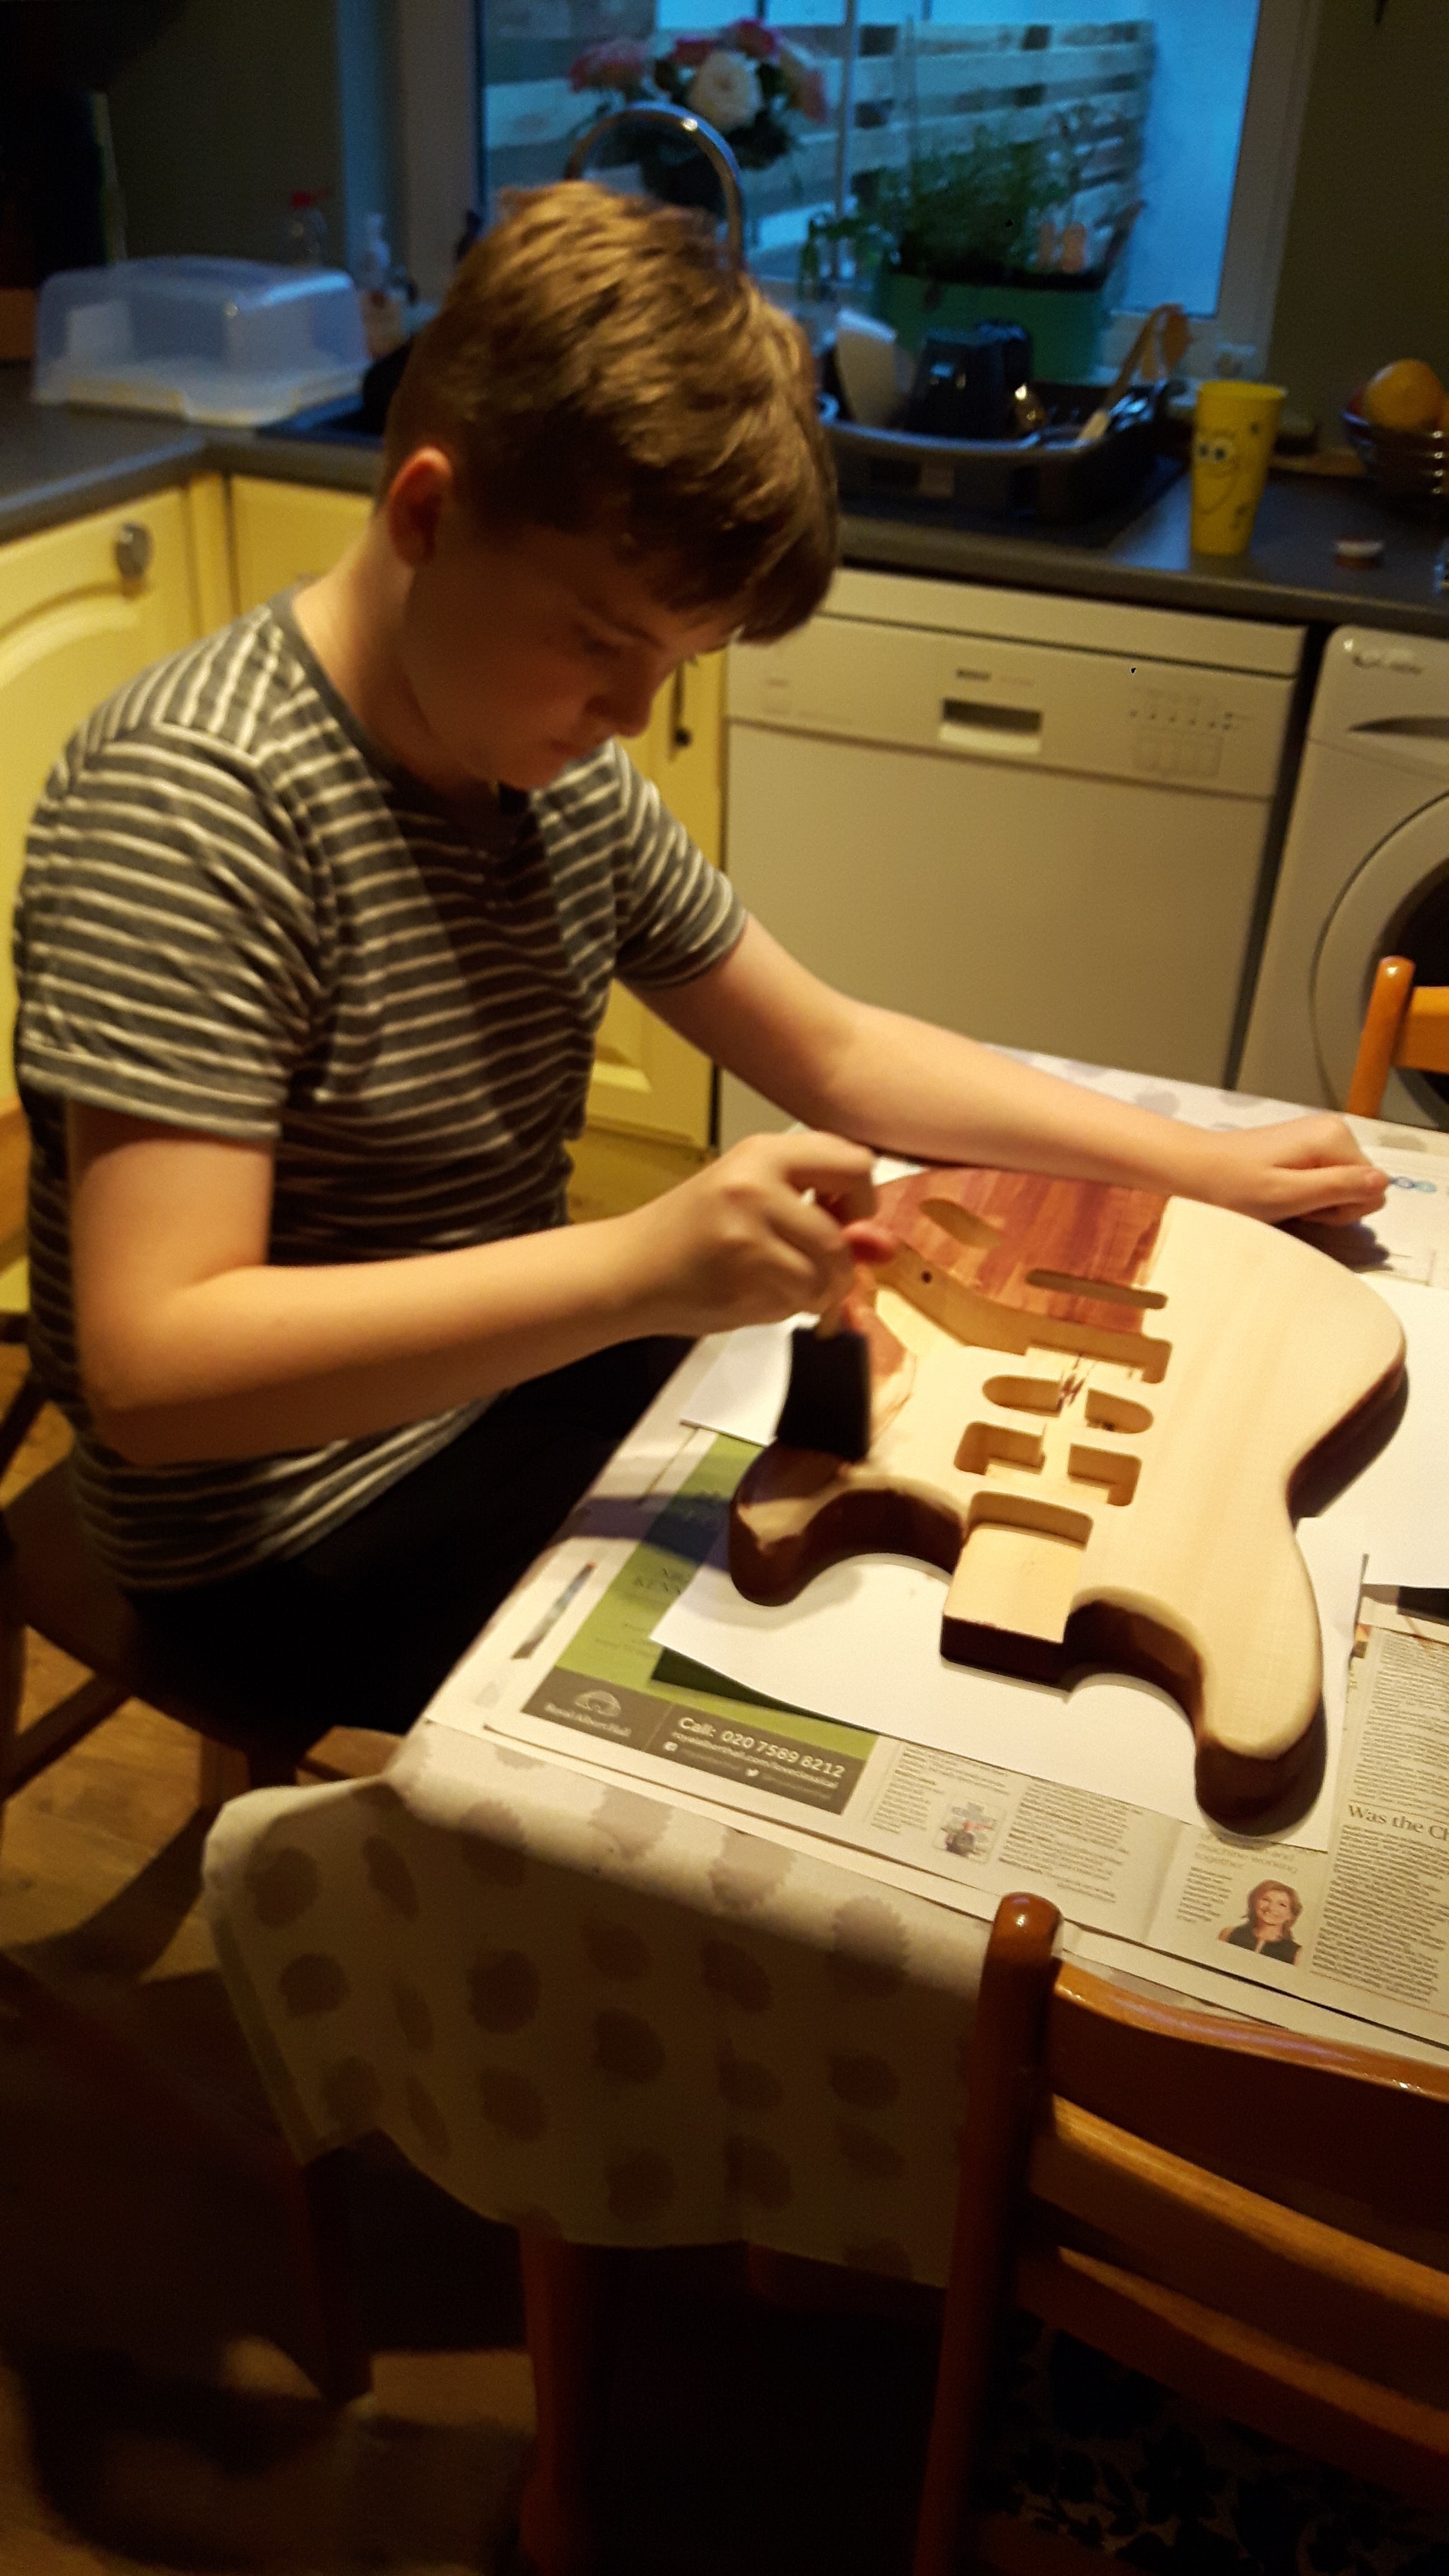
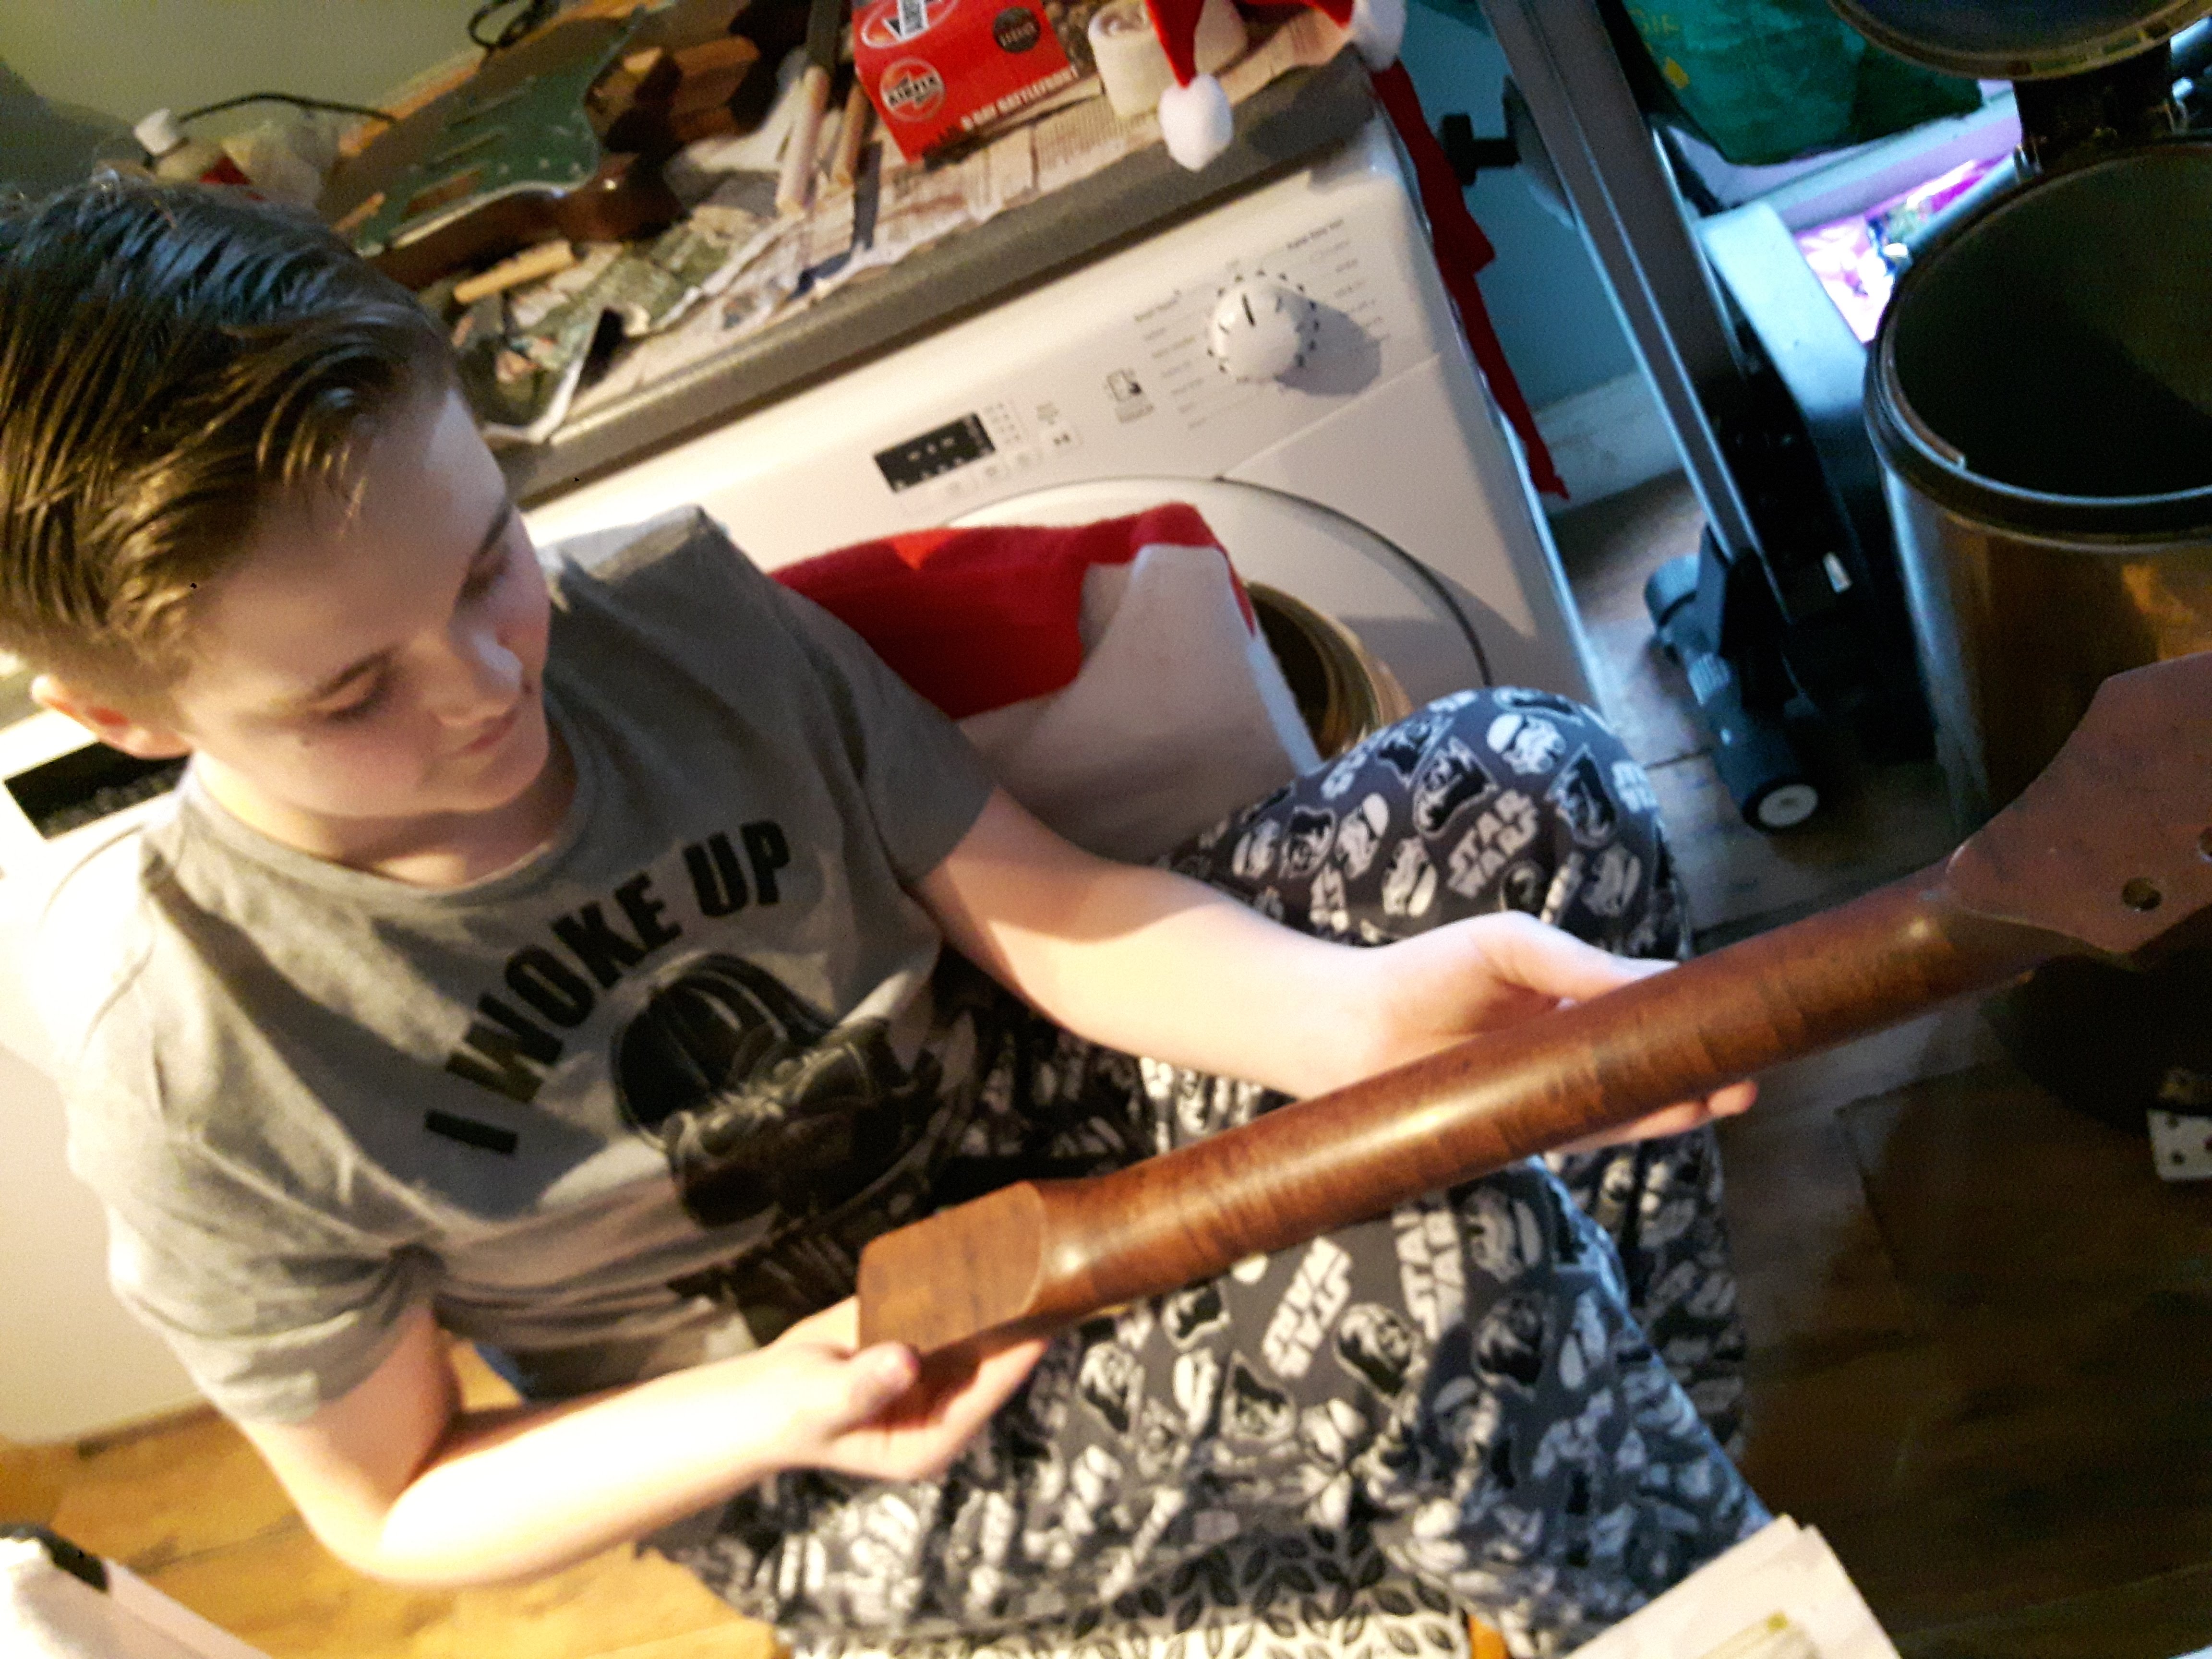
After laying the body on the kitchen table I sanded the body a bit to remove the rough spots before prepping it to be stained:
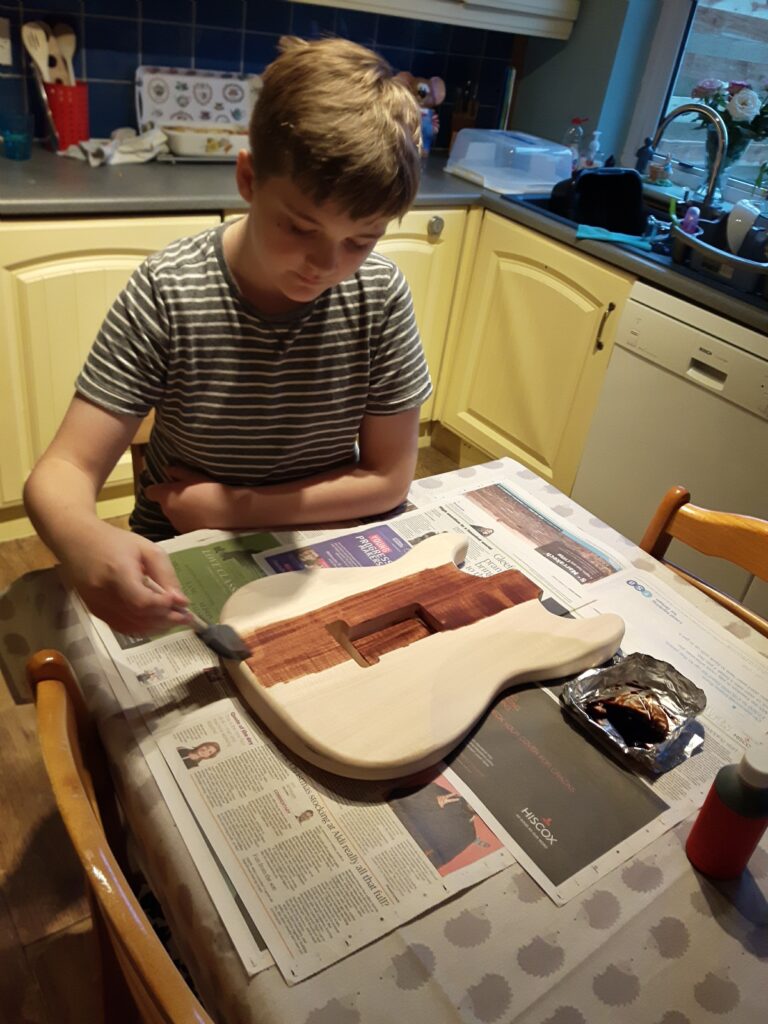
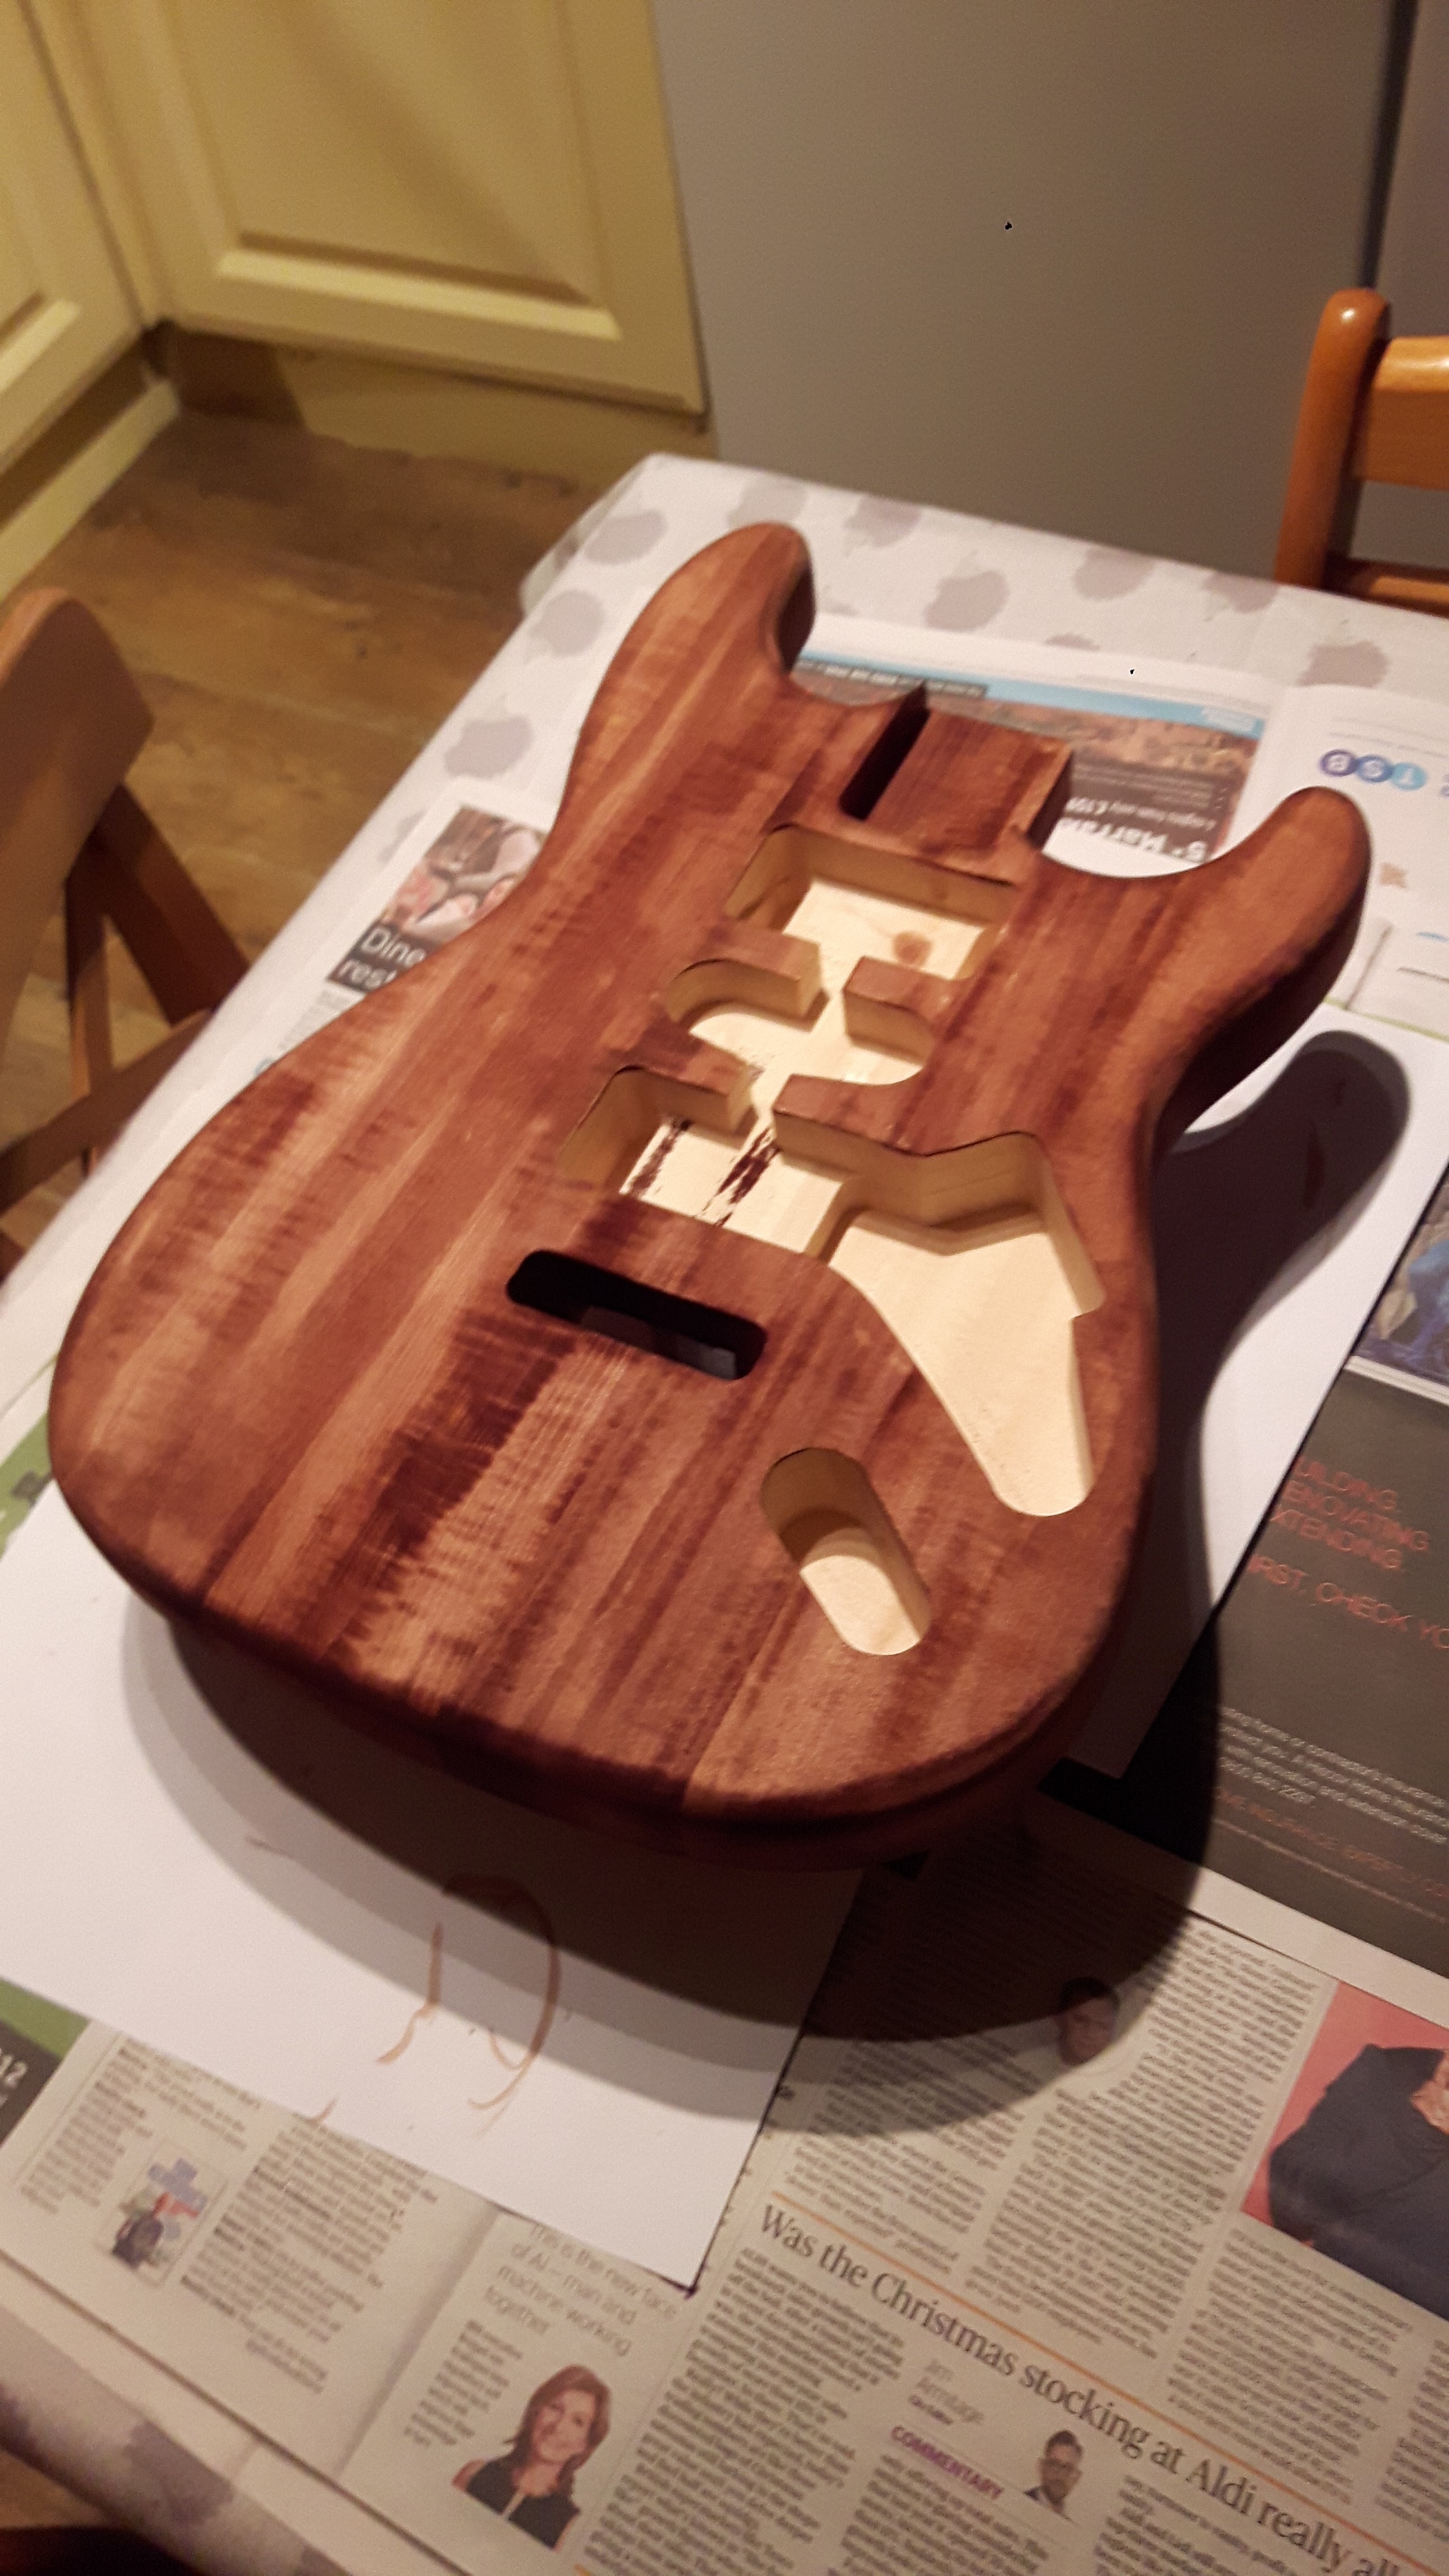
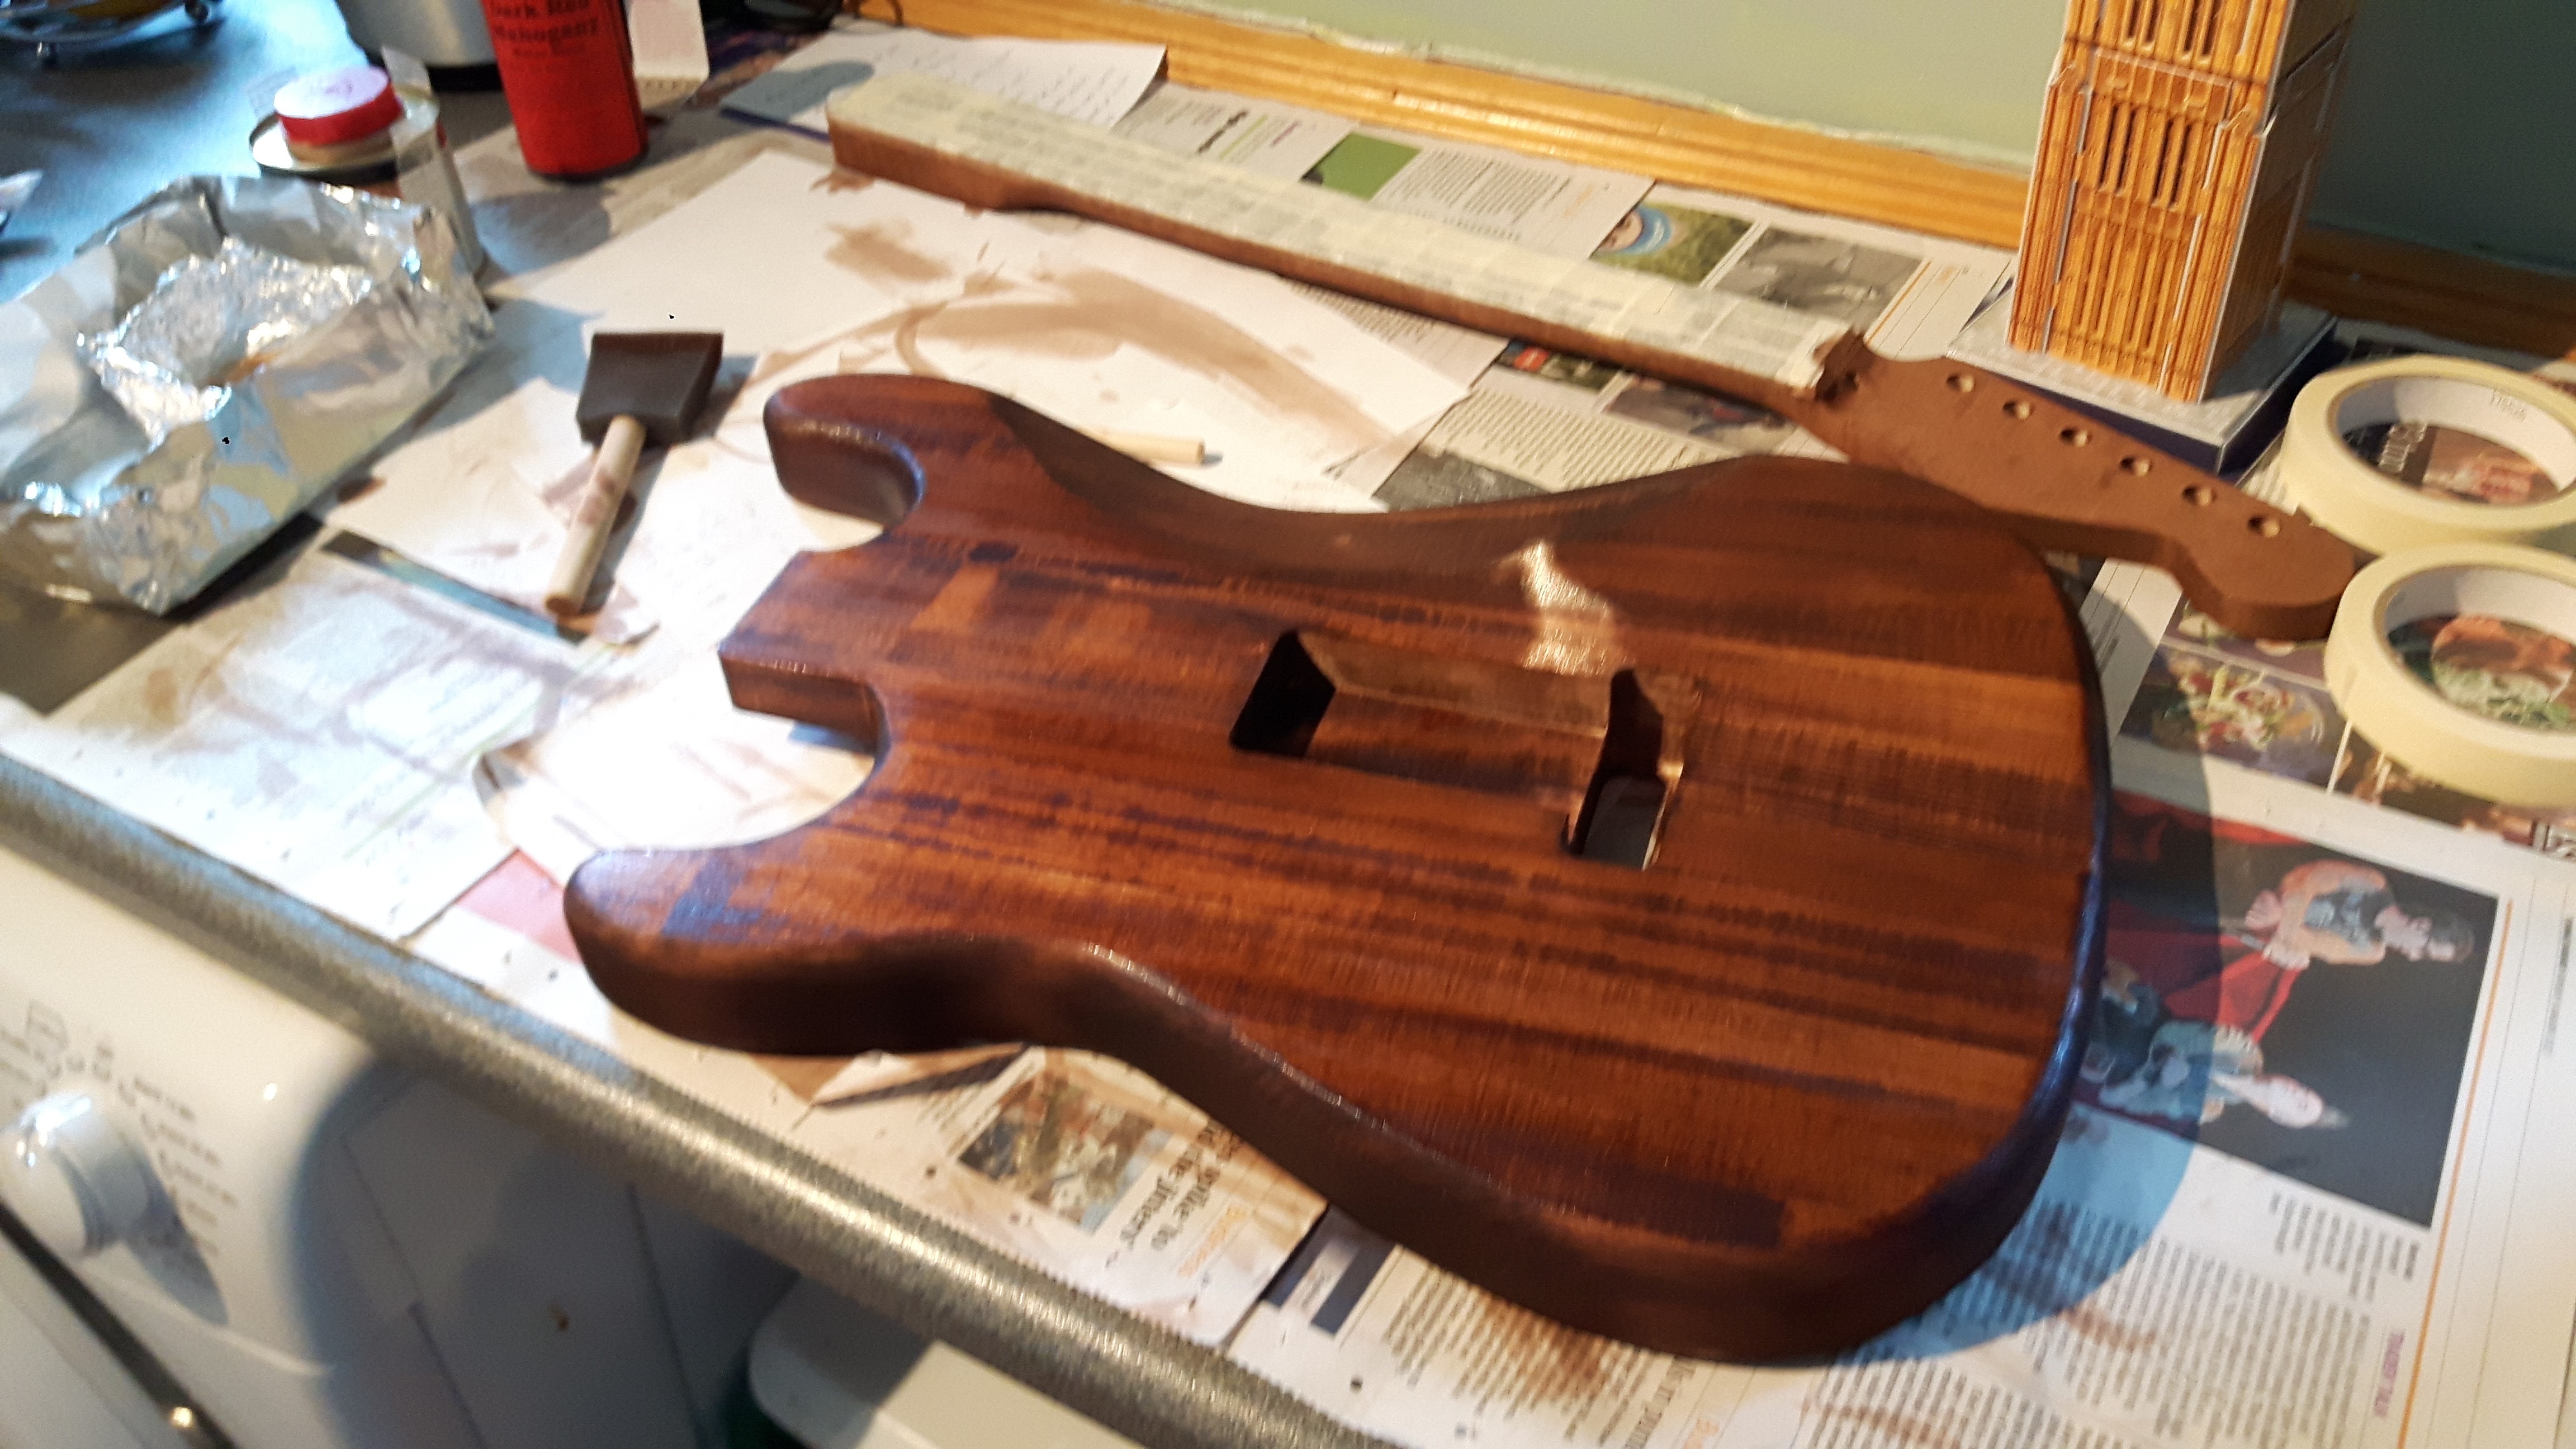
The second step in this build was to paint/stain the body of the guitar to either the colour or wood texture that I want, I decided to stain the body and neck to what I believe was a dark mahogany shade. It took a few weeks but in the end of the staining phase, the body turned to a beautiful dark shade.
And after taping up the fretboard I started the neck!
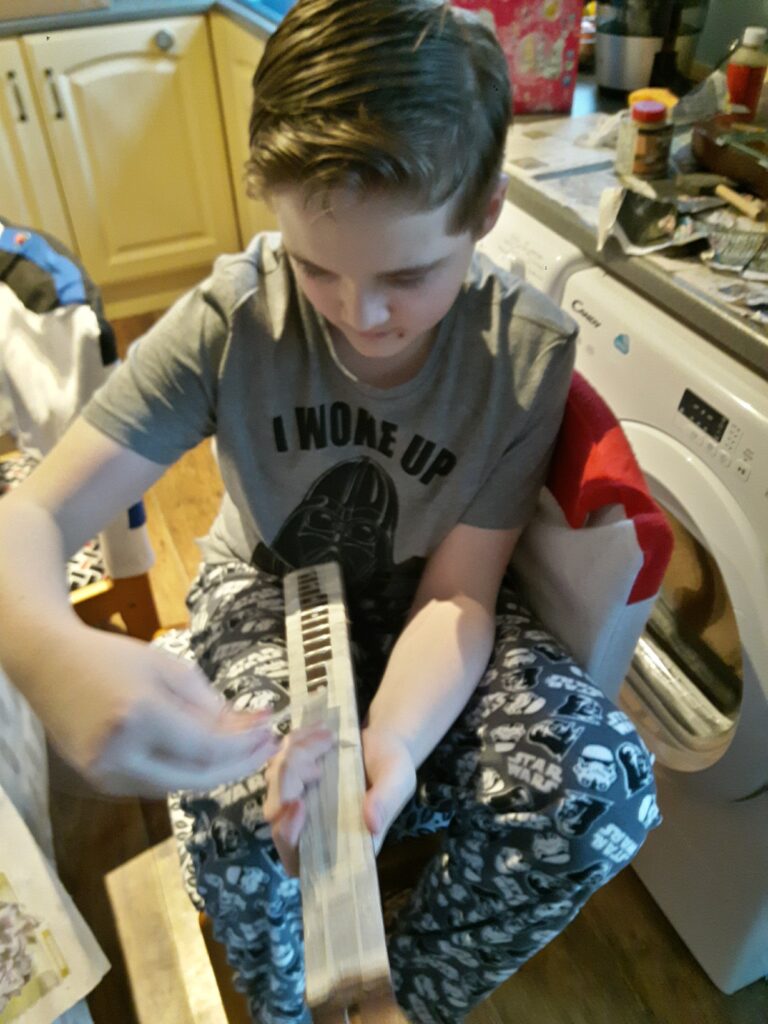
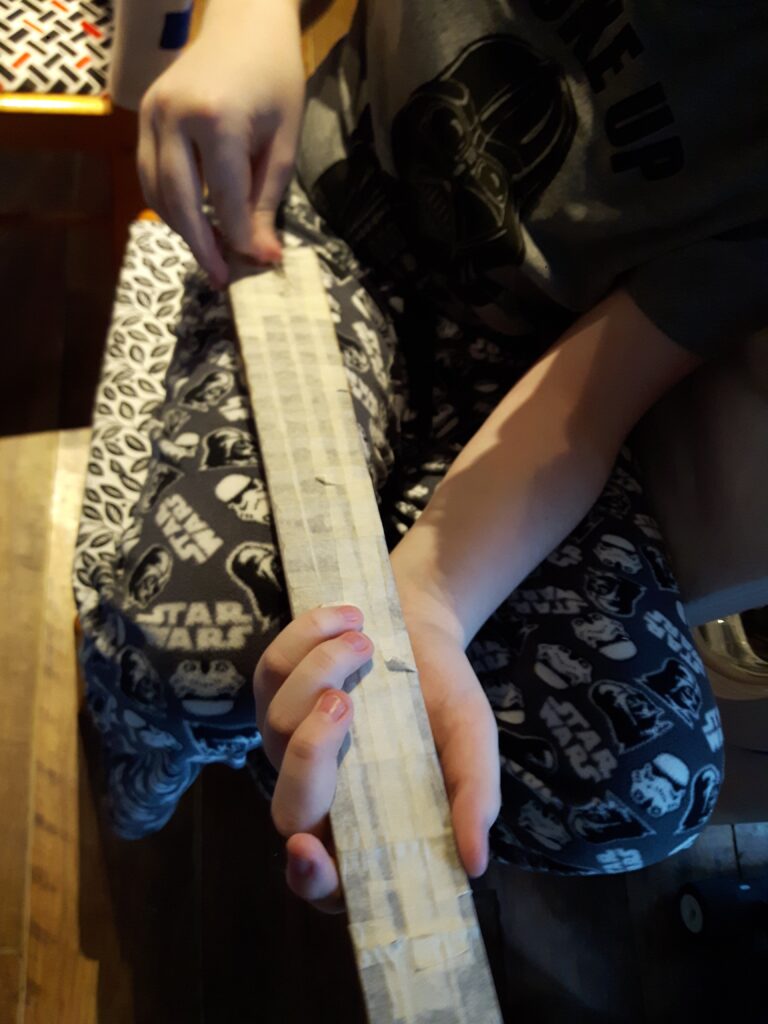
After another few weeks of painting coats and sanding down I then sanded the varnish all the way up to wet-sanding with I think around 2000 grit paper.
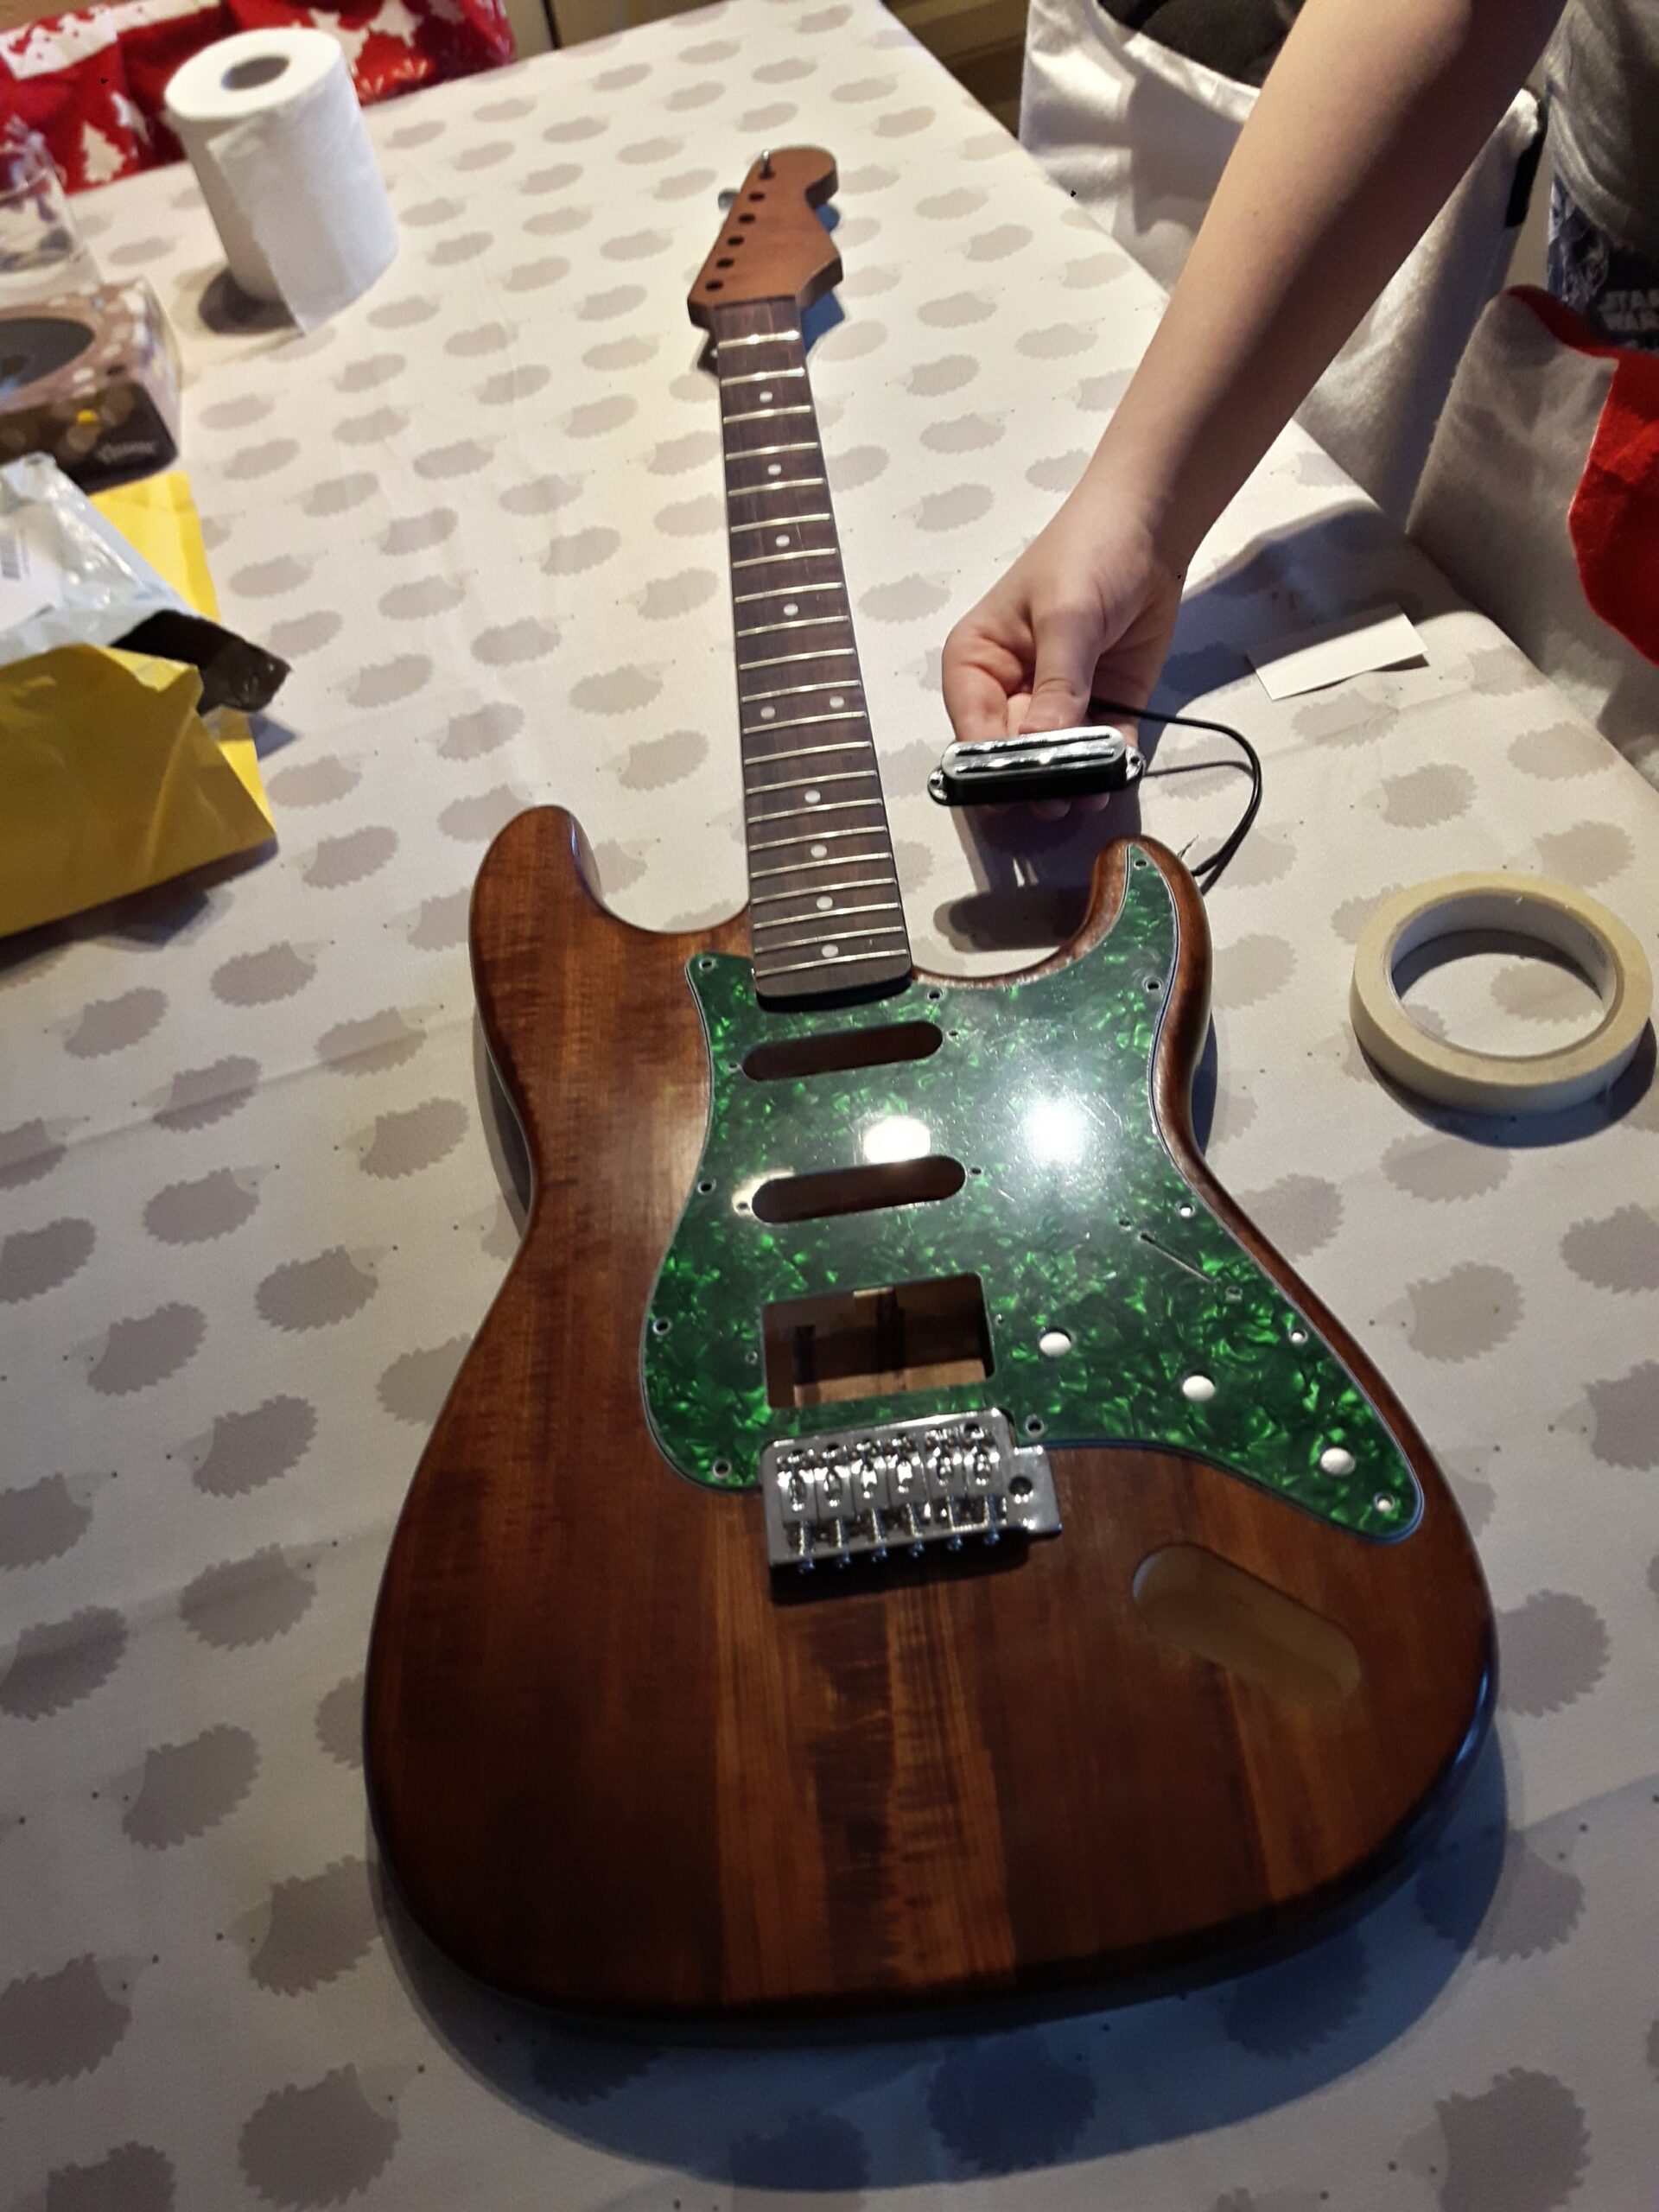
I then lined up the faceplate I got to figure out where to place the bridge:
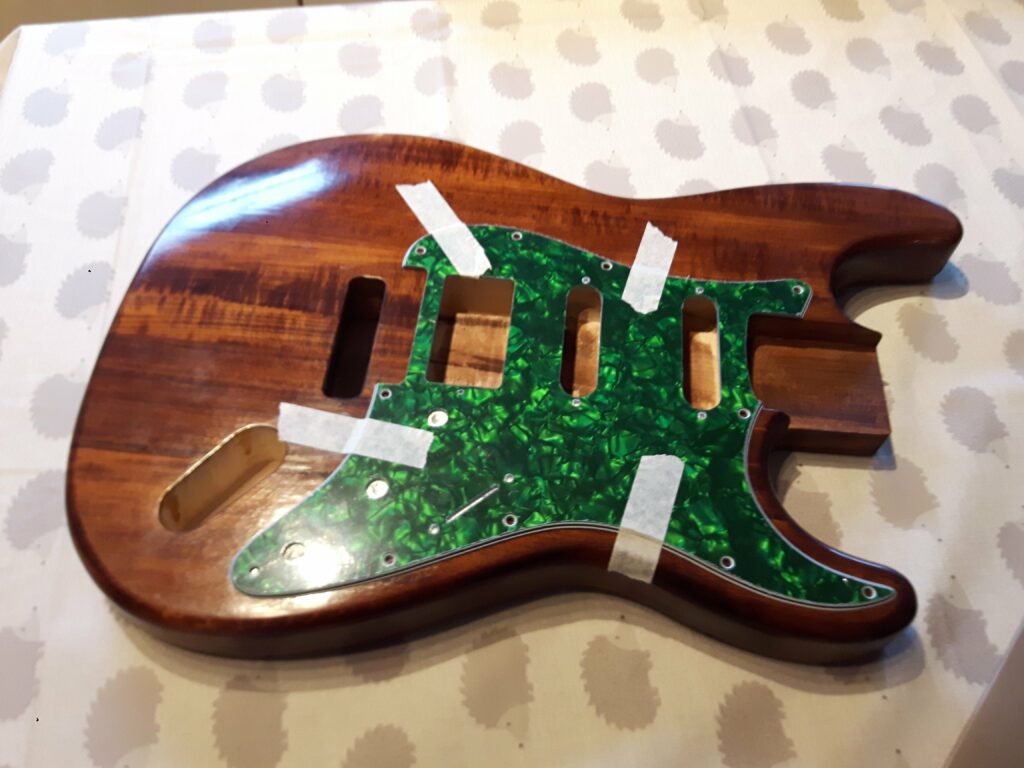
And then attached the bridge and screwed down the original faceplate for the first time:

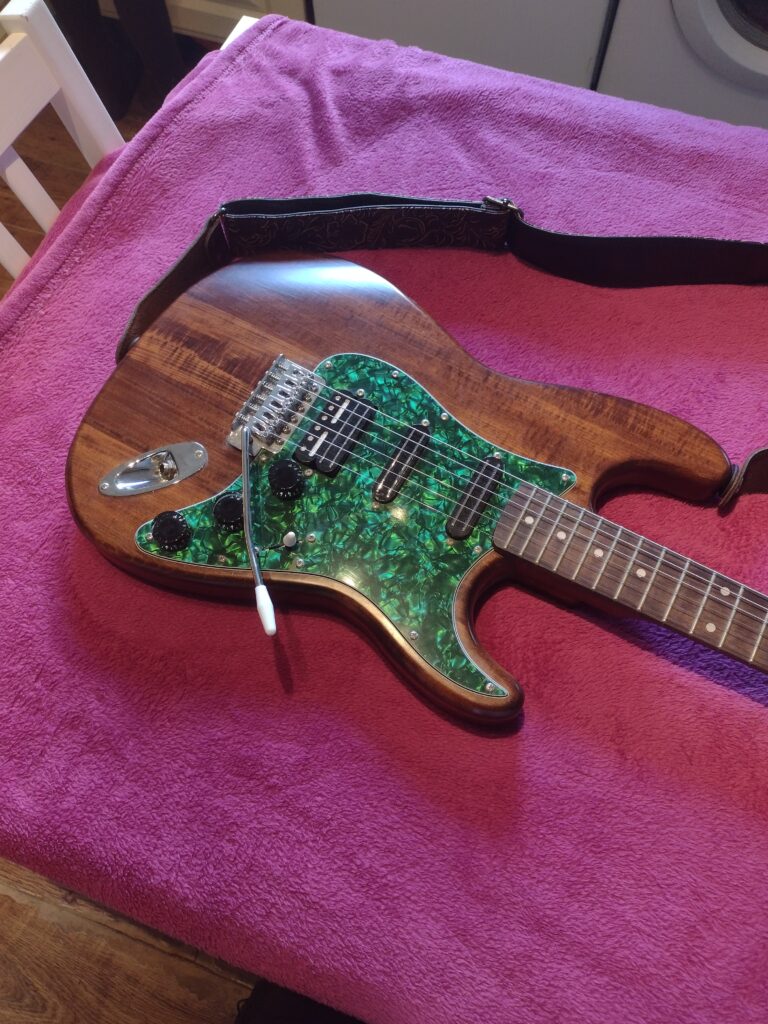
After the excitement of being nearly finished I coated the pockets in the body with metal tape for EM shielding and prepared the pickups.
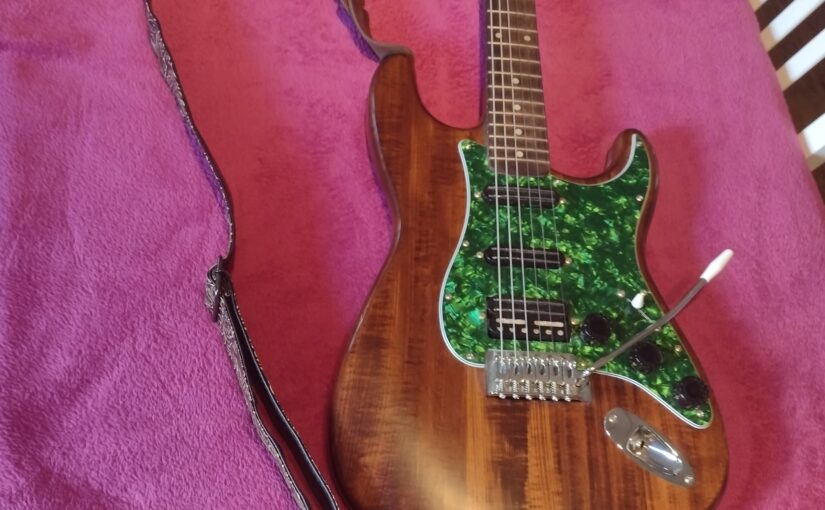
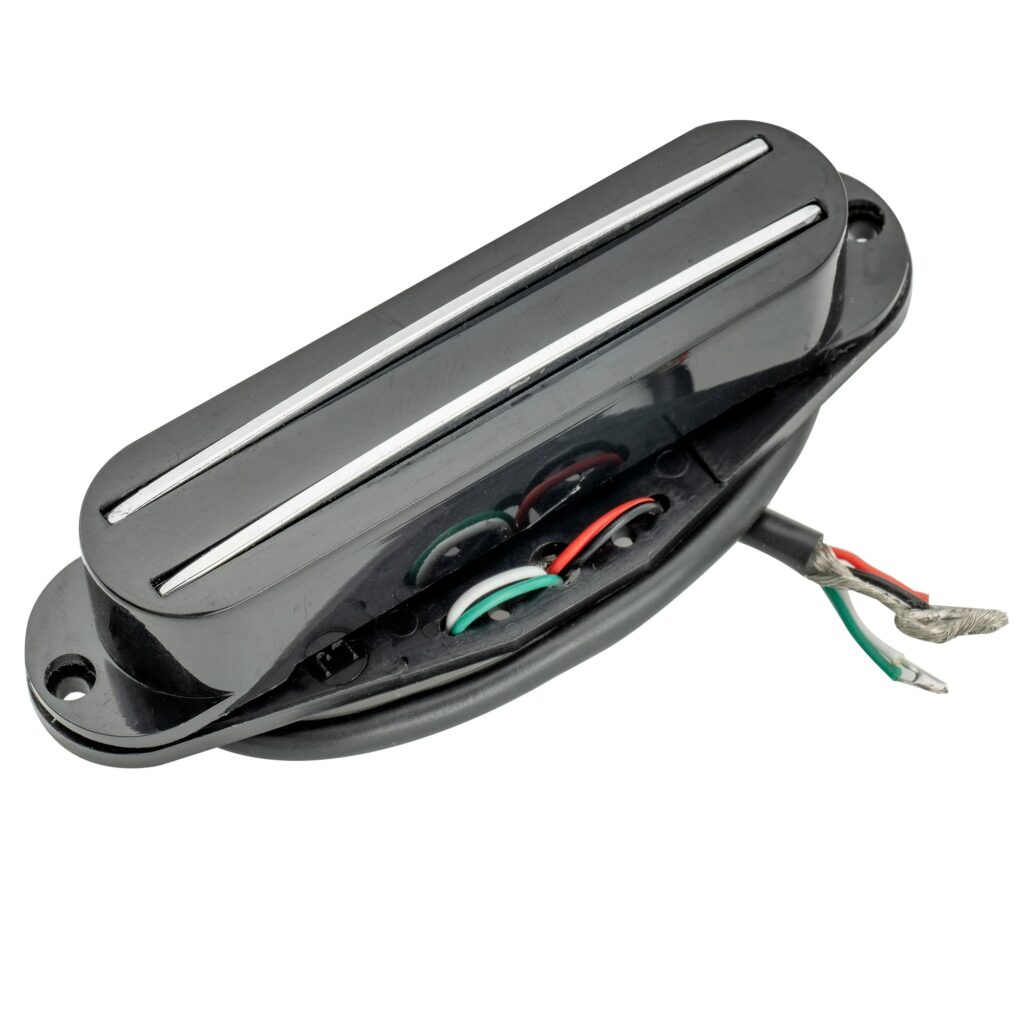
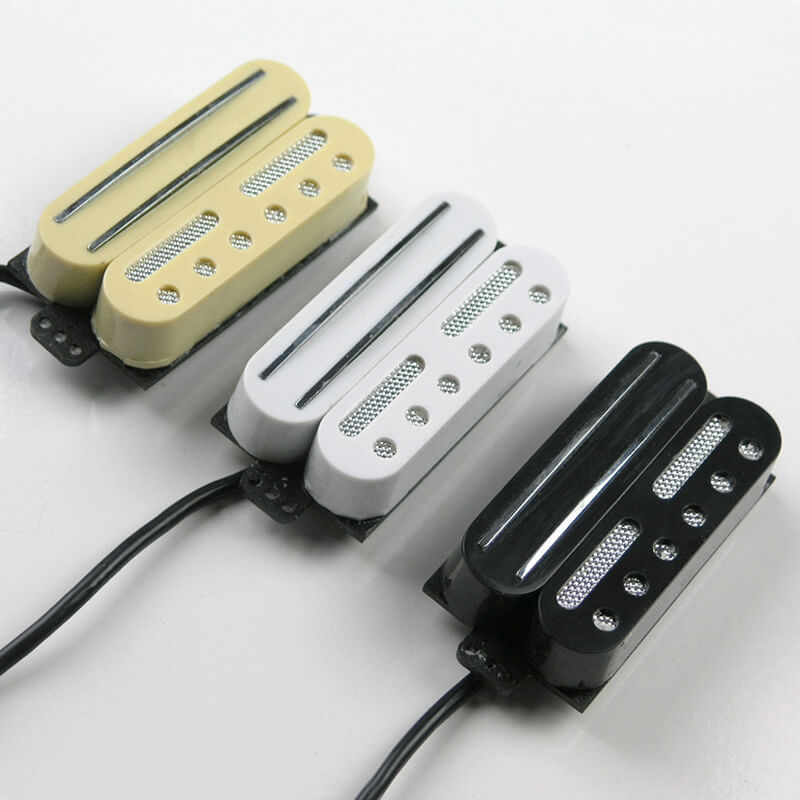
The pickups I chose were black “hot rail” pickups almost exactly like the ones below; I used two of the single’s at the neck and middle position and one of the double’s at the bridge position.
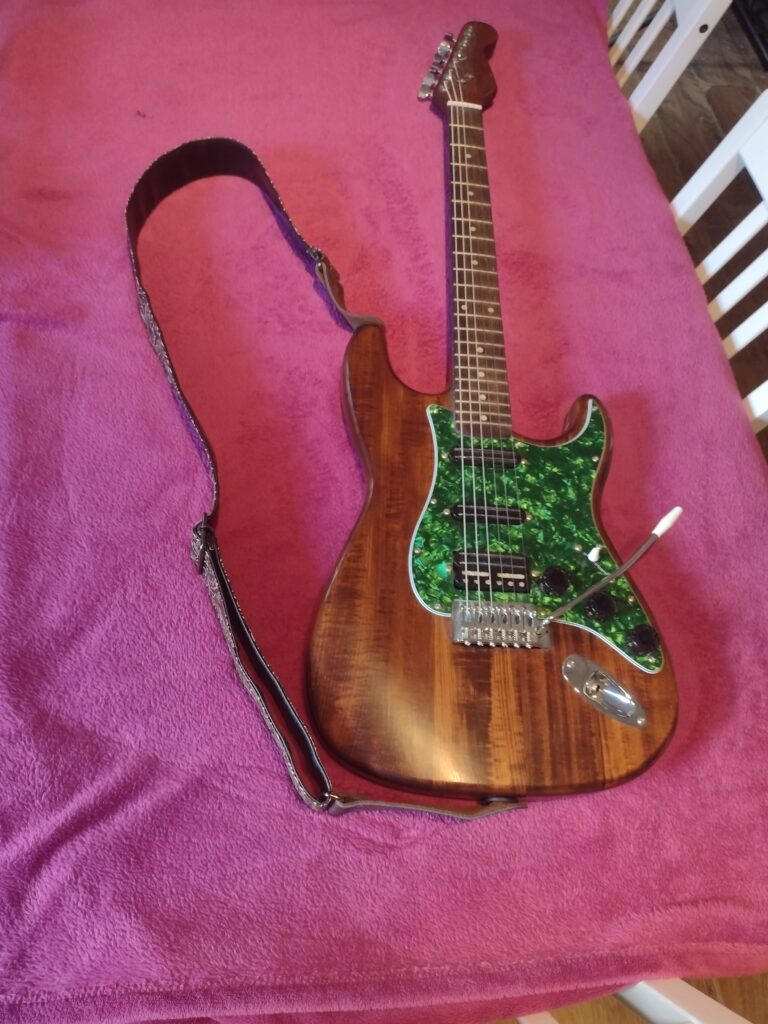
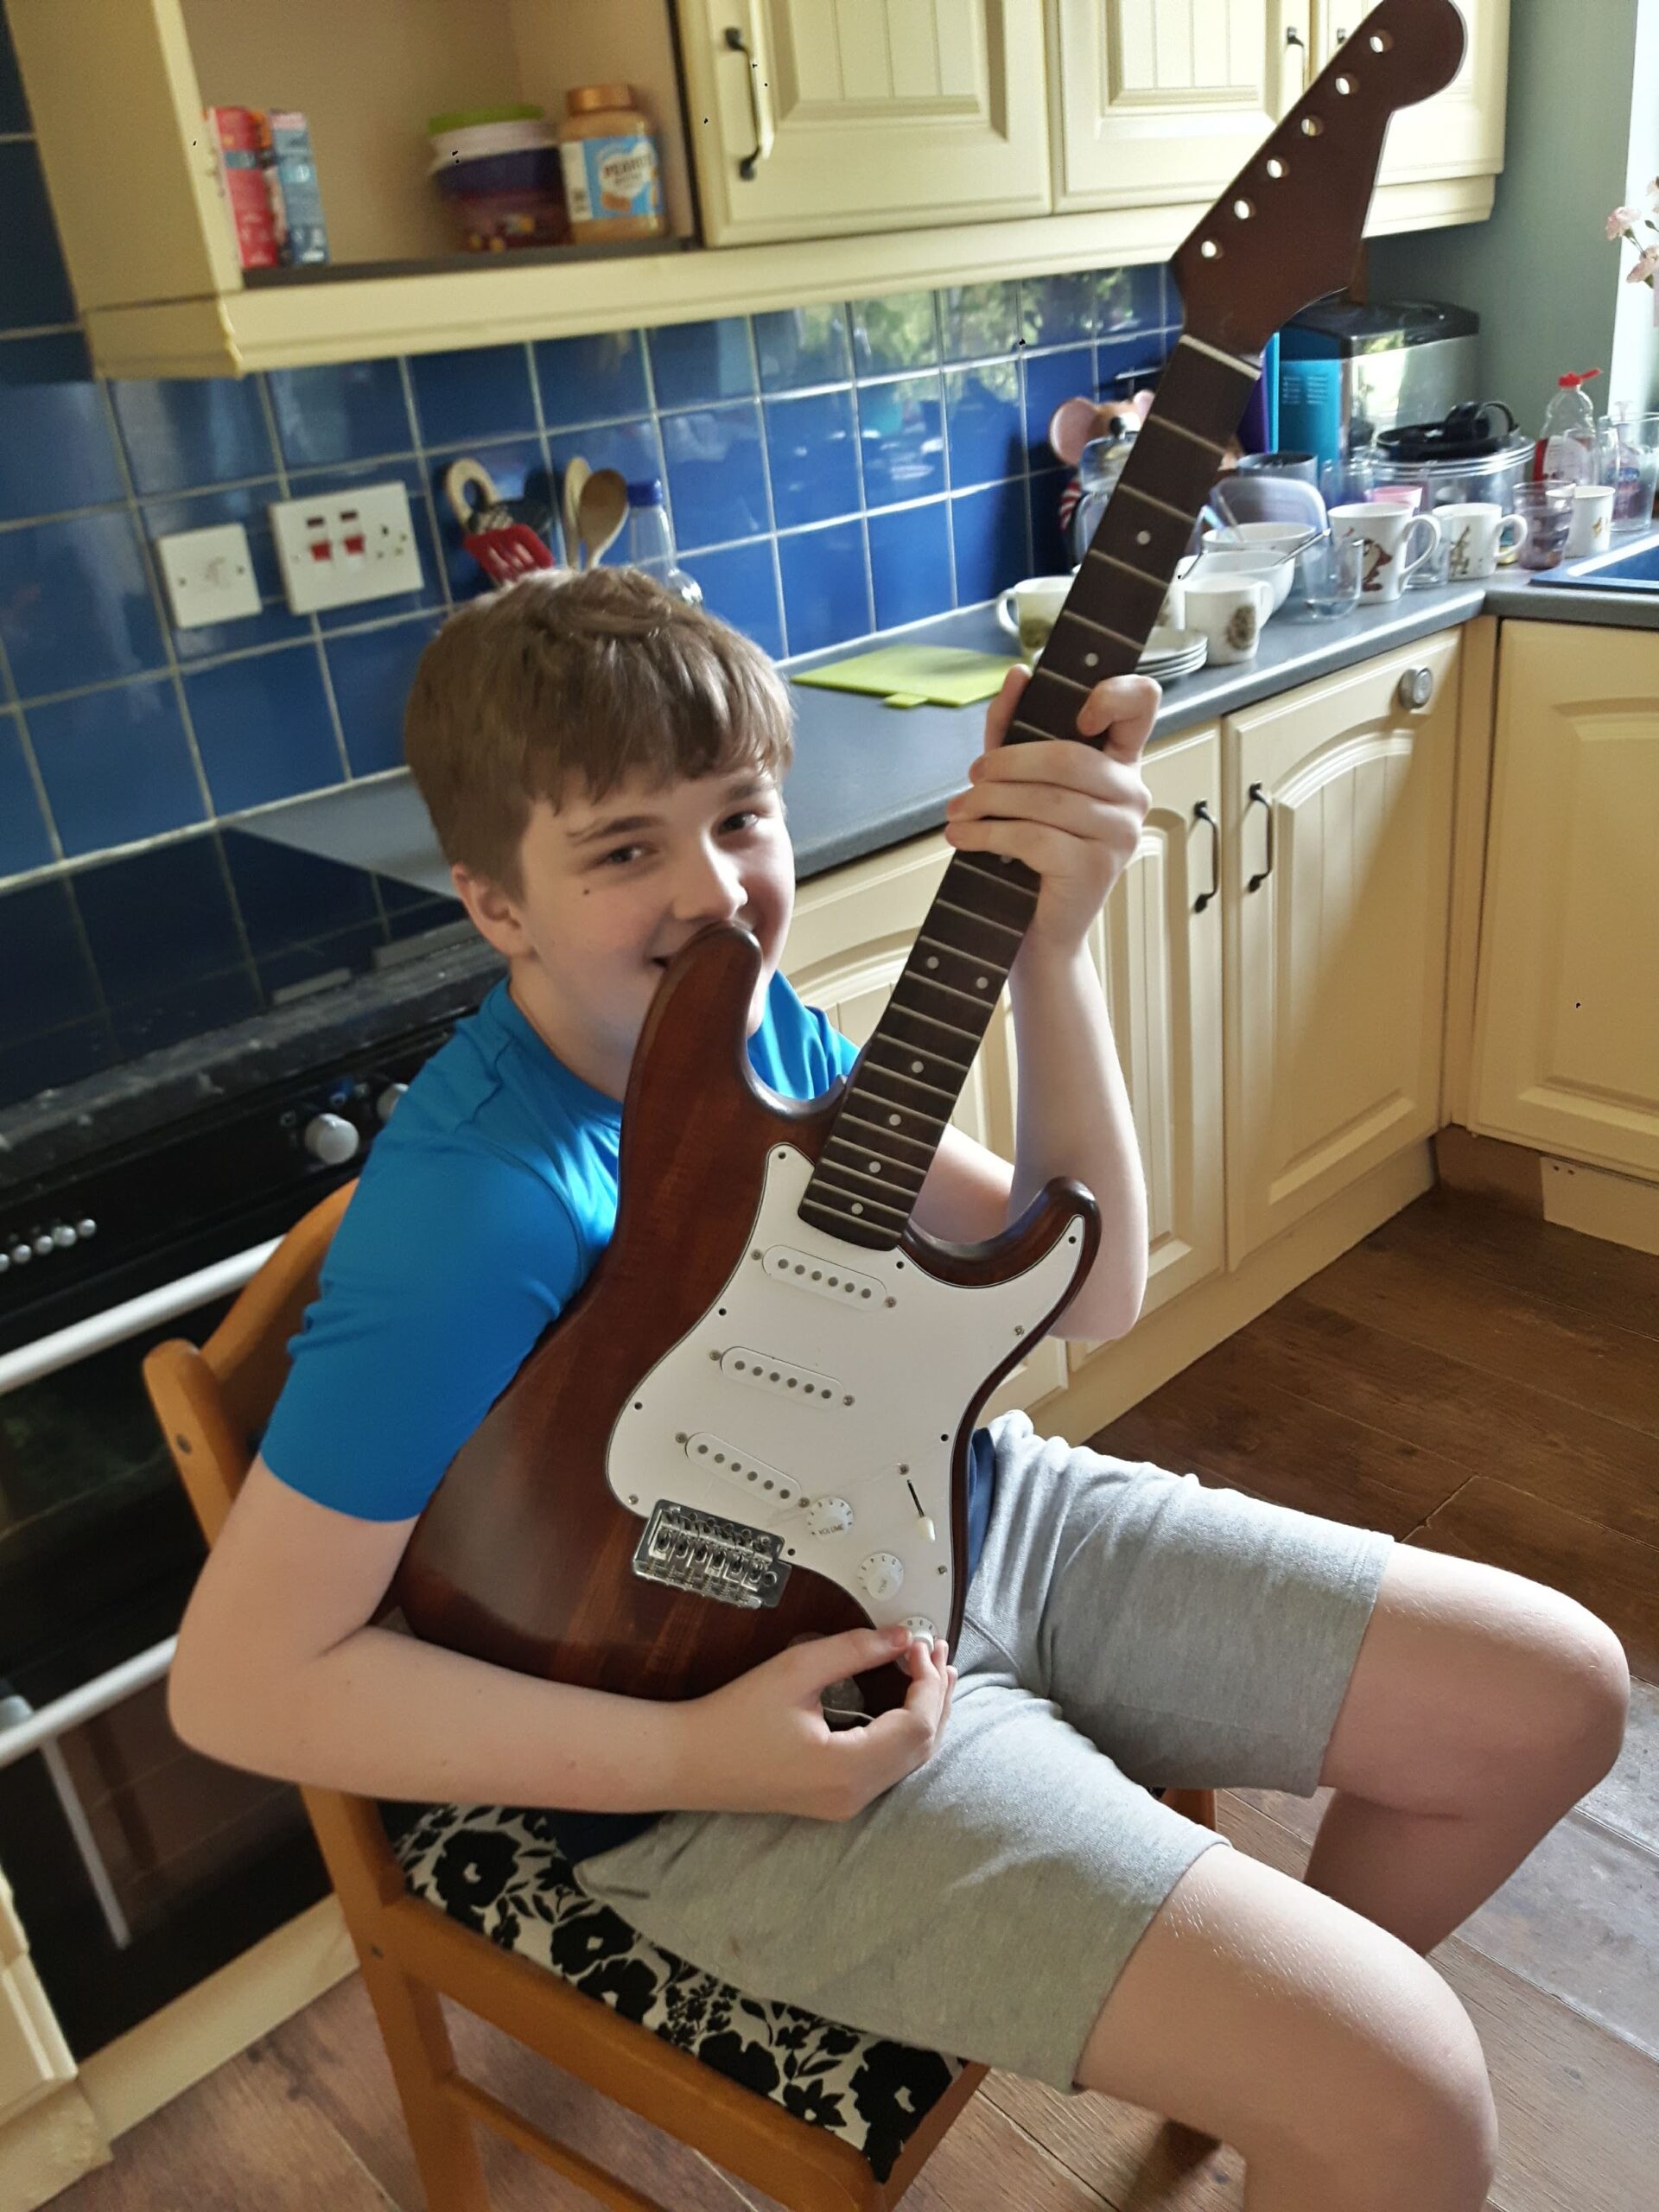
All in all, the final guitar looked like this!
I later added a new strap with a securing rubber washer since the previous strap was too short and too worn out making it fall off.
If I was going to do this project again though, I would use a varnish with less friction for the neck and make sure to put the plastic nut the right way round!